


In this guide, we'll show you, step by step, how to replace or remove the motor on your VMAXVX2 PRO E-Scooter VX2 PRO .
Tools Required
- 21 mm open-end wrench
- Allen 2,5 mm
- Allen 3 mm
- Phillips screwdriver
- Optional: Spray adhesive or hot glue
- Optional: String (approx. 2 m)
Instructions
Loosen the front rubber mat
Remove the front few centimeters of the rubber mat on your running board so you can access the maintenance hatch.
Carefully remove the mat so that it isn't damaged and can be securely reattached later.
Open the maintenance hatch on the front
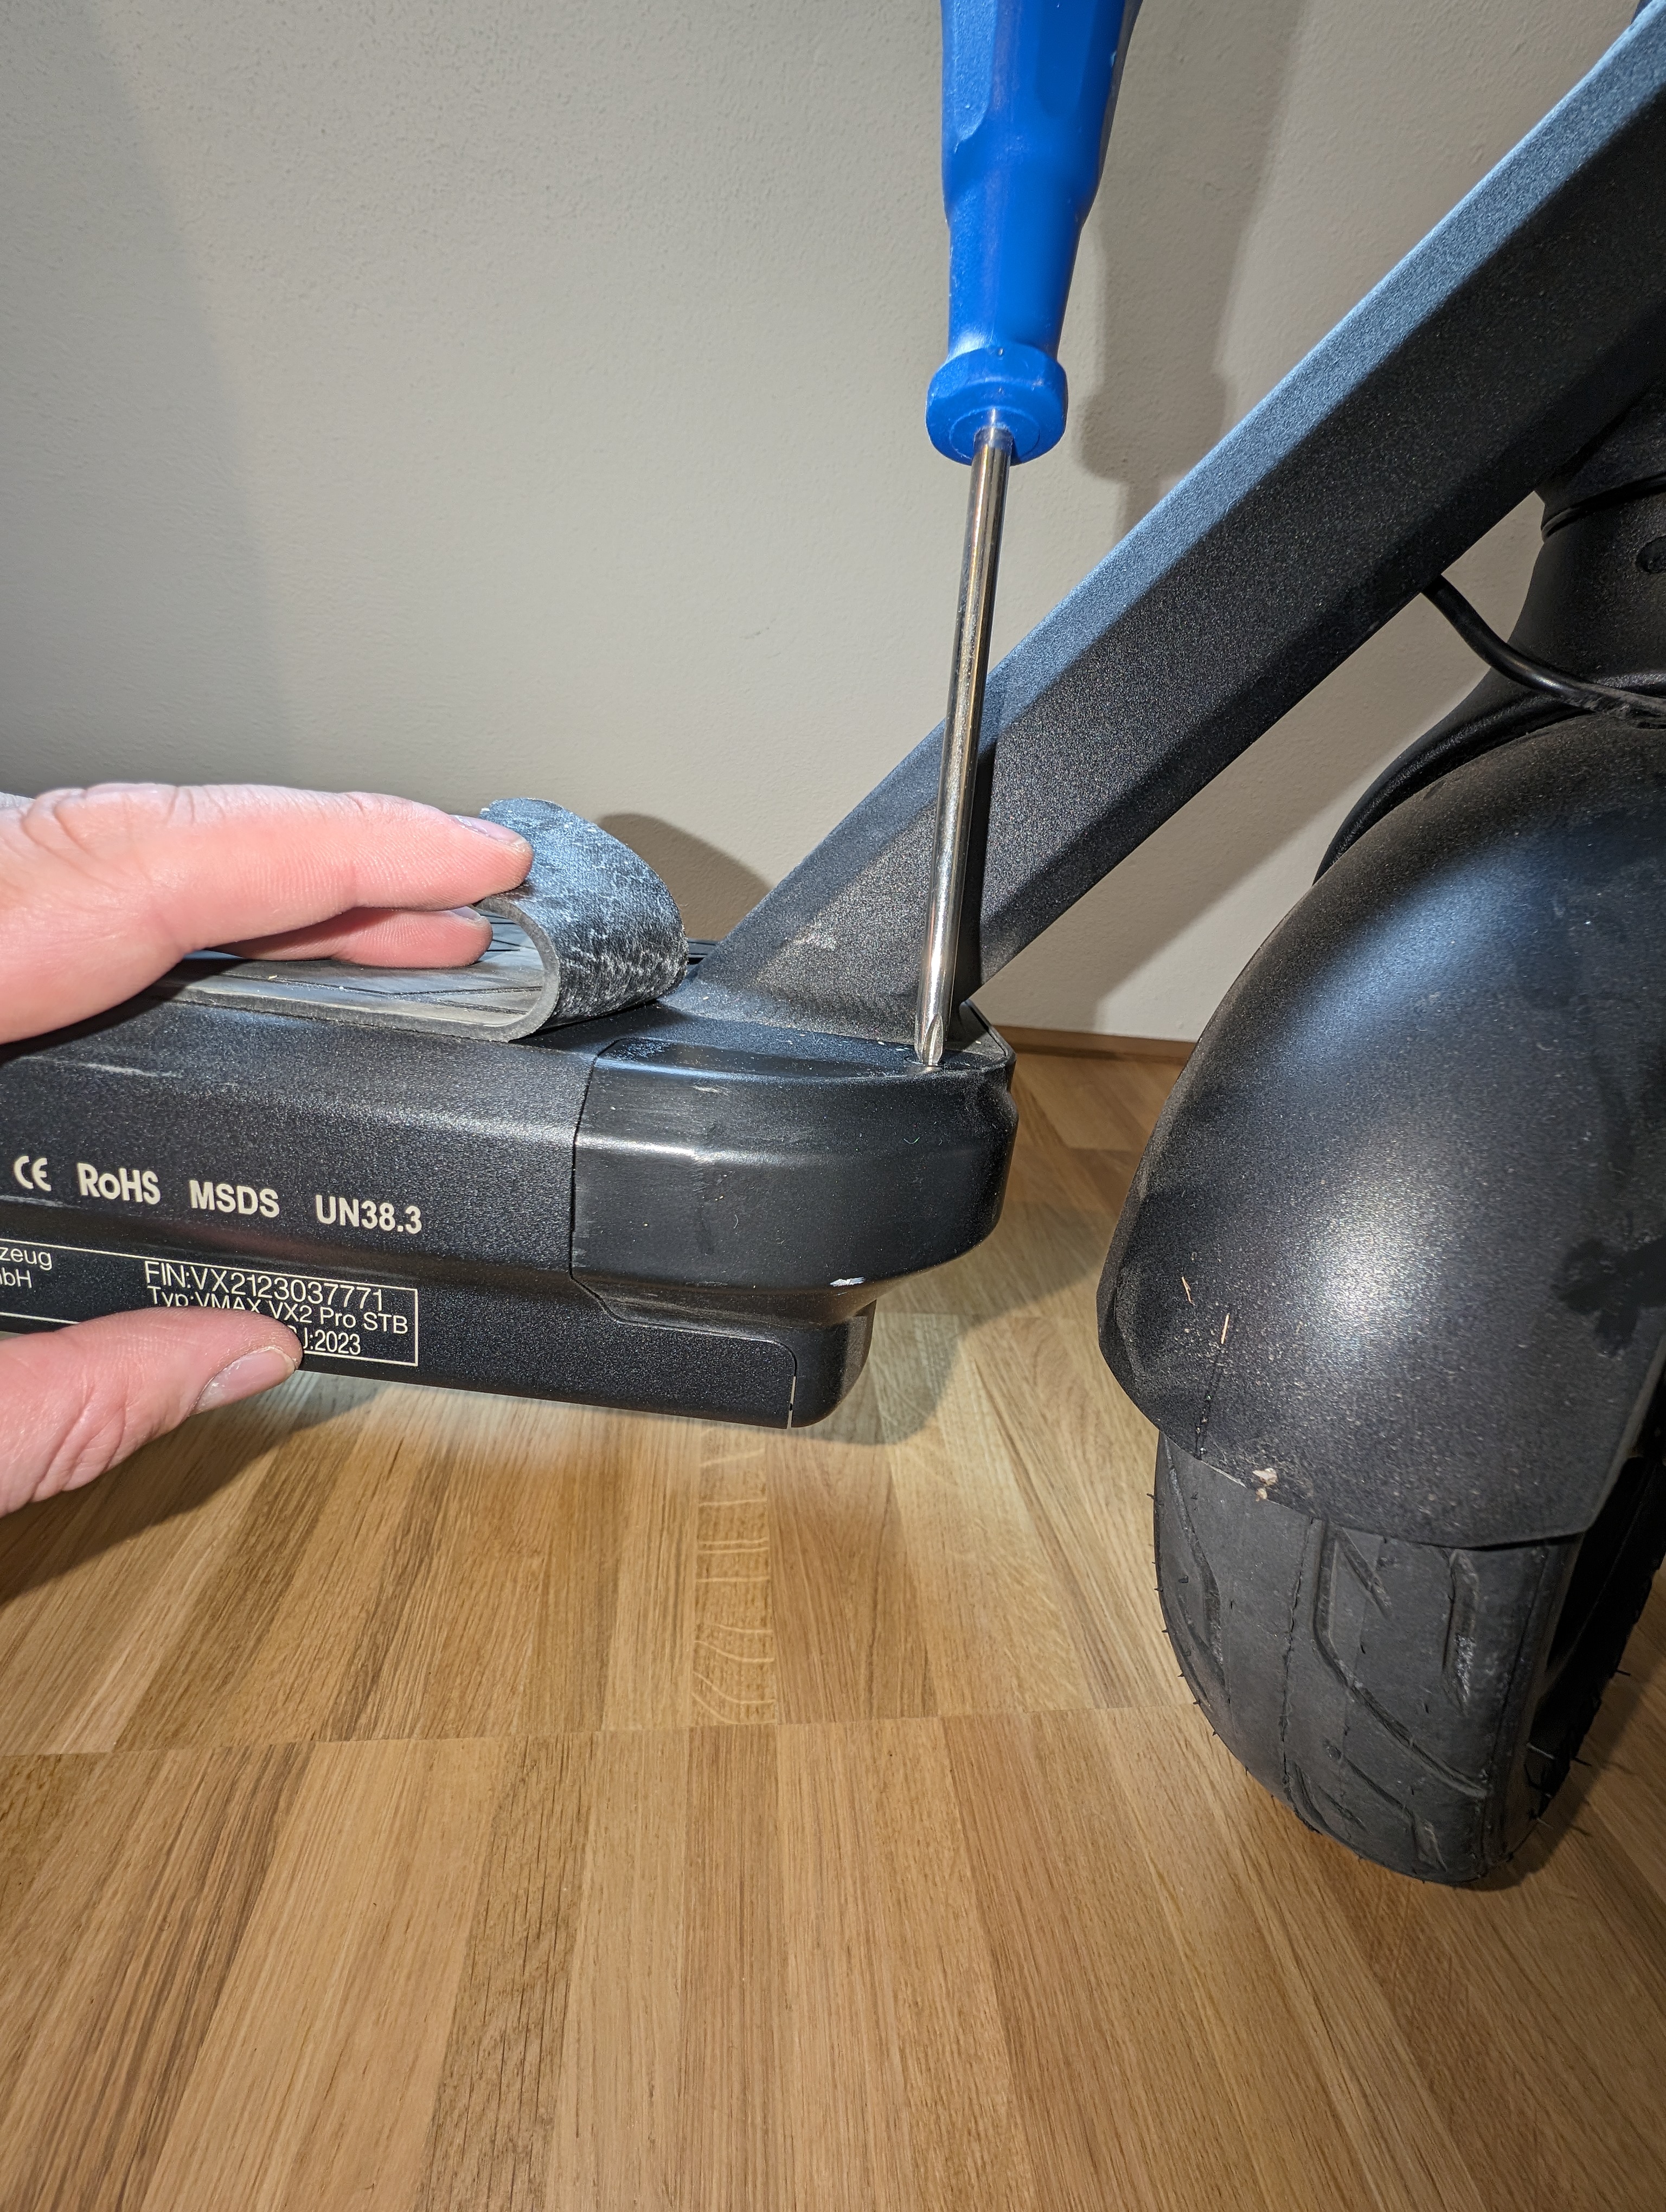
Loosen the maintenance panel on the front. To do this, remove two screws at the top and two at the bottom of the step.
Disconnect the engine cables
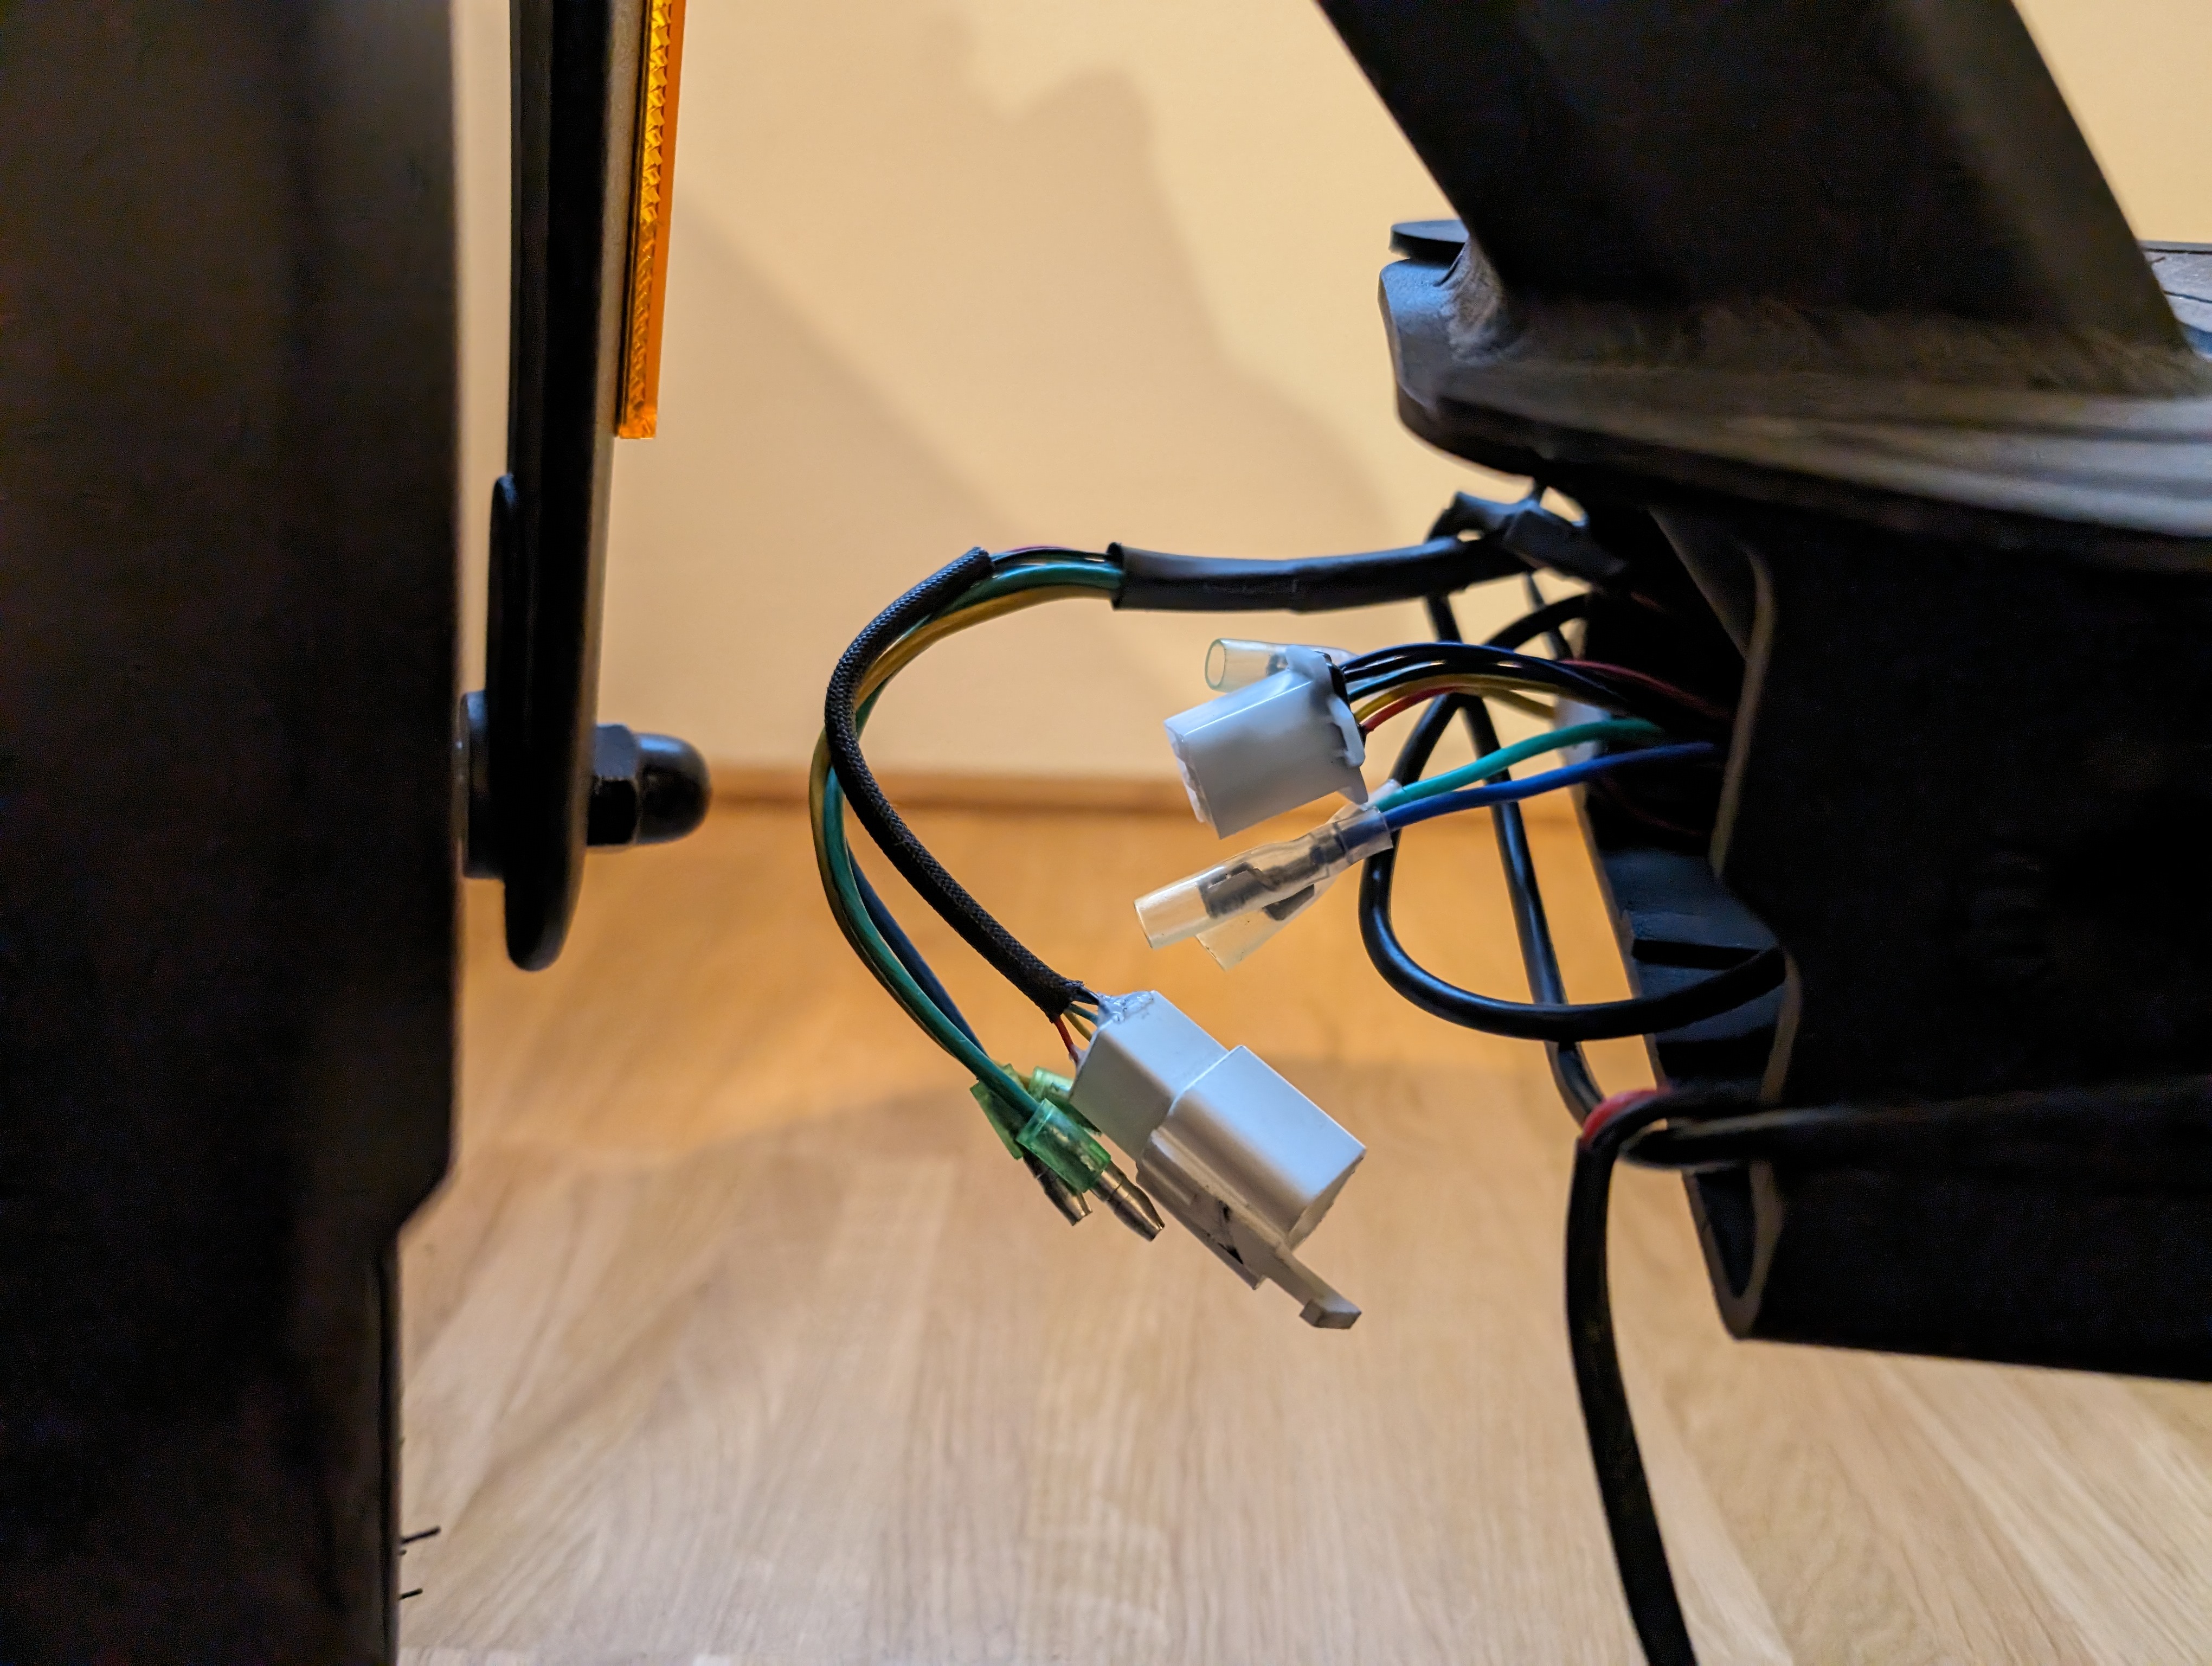
Disconnect the four cables leading to the motor.
Attach the thread to the motor cable
Tie a piece of string to the motor cable.
The string will help you pull the cable back through the cable channel more easily later on.
Remove the engine covers
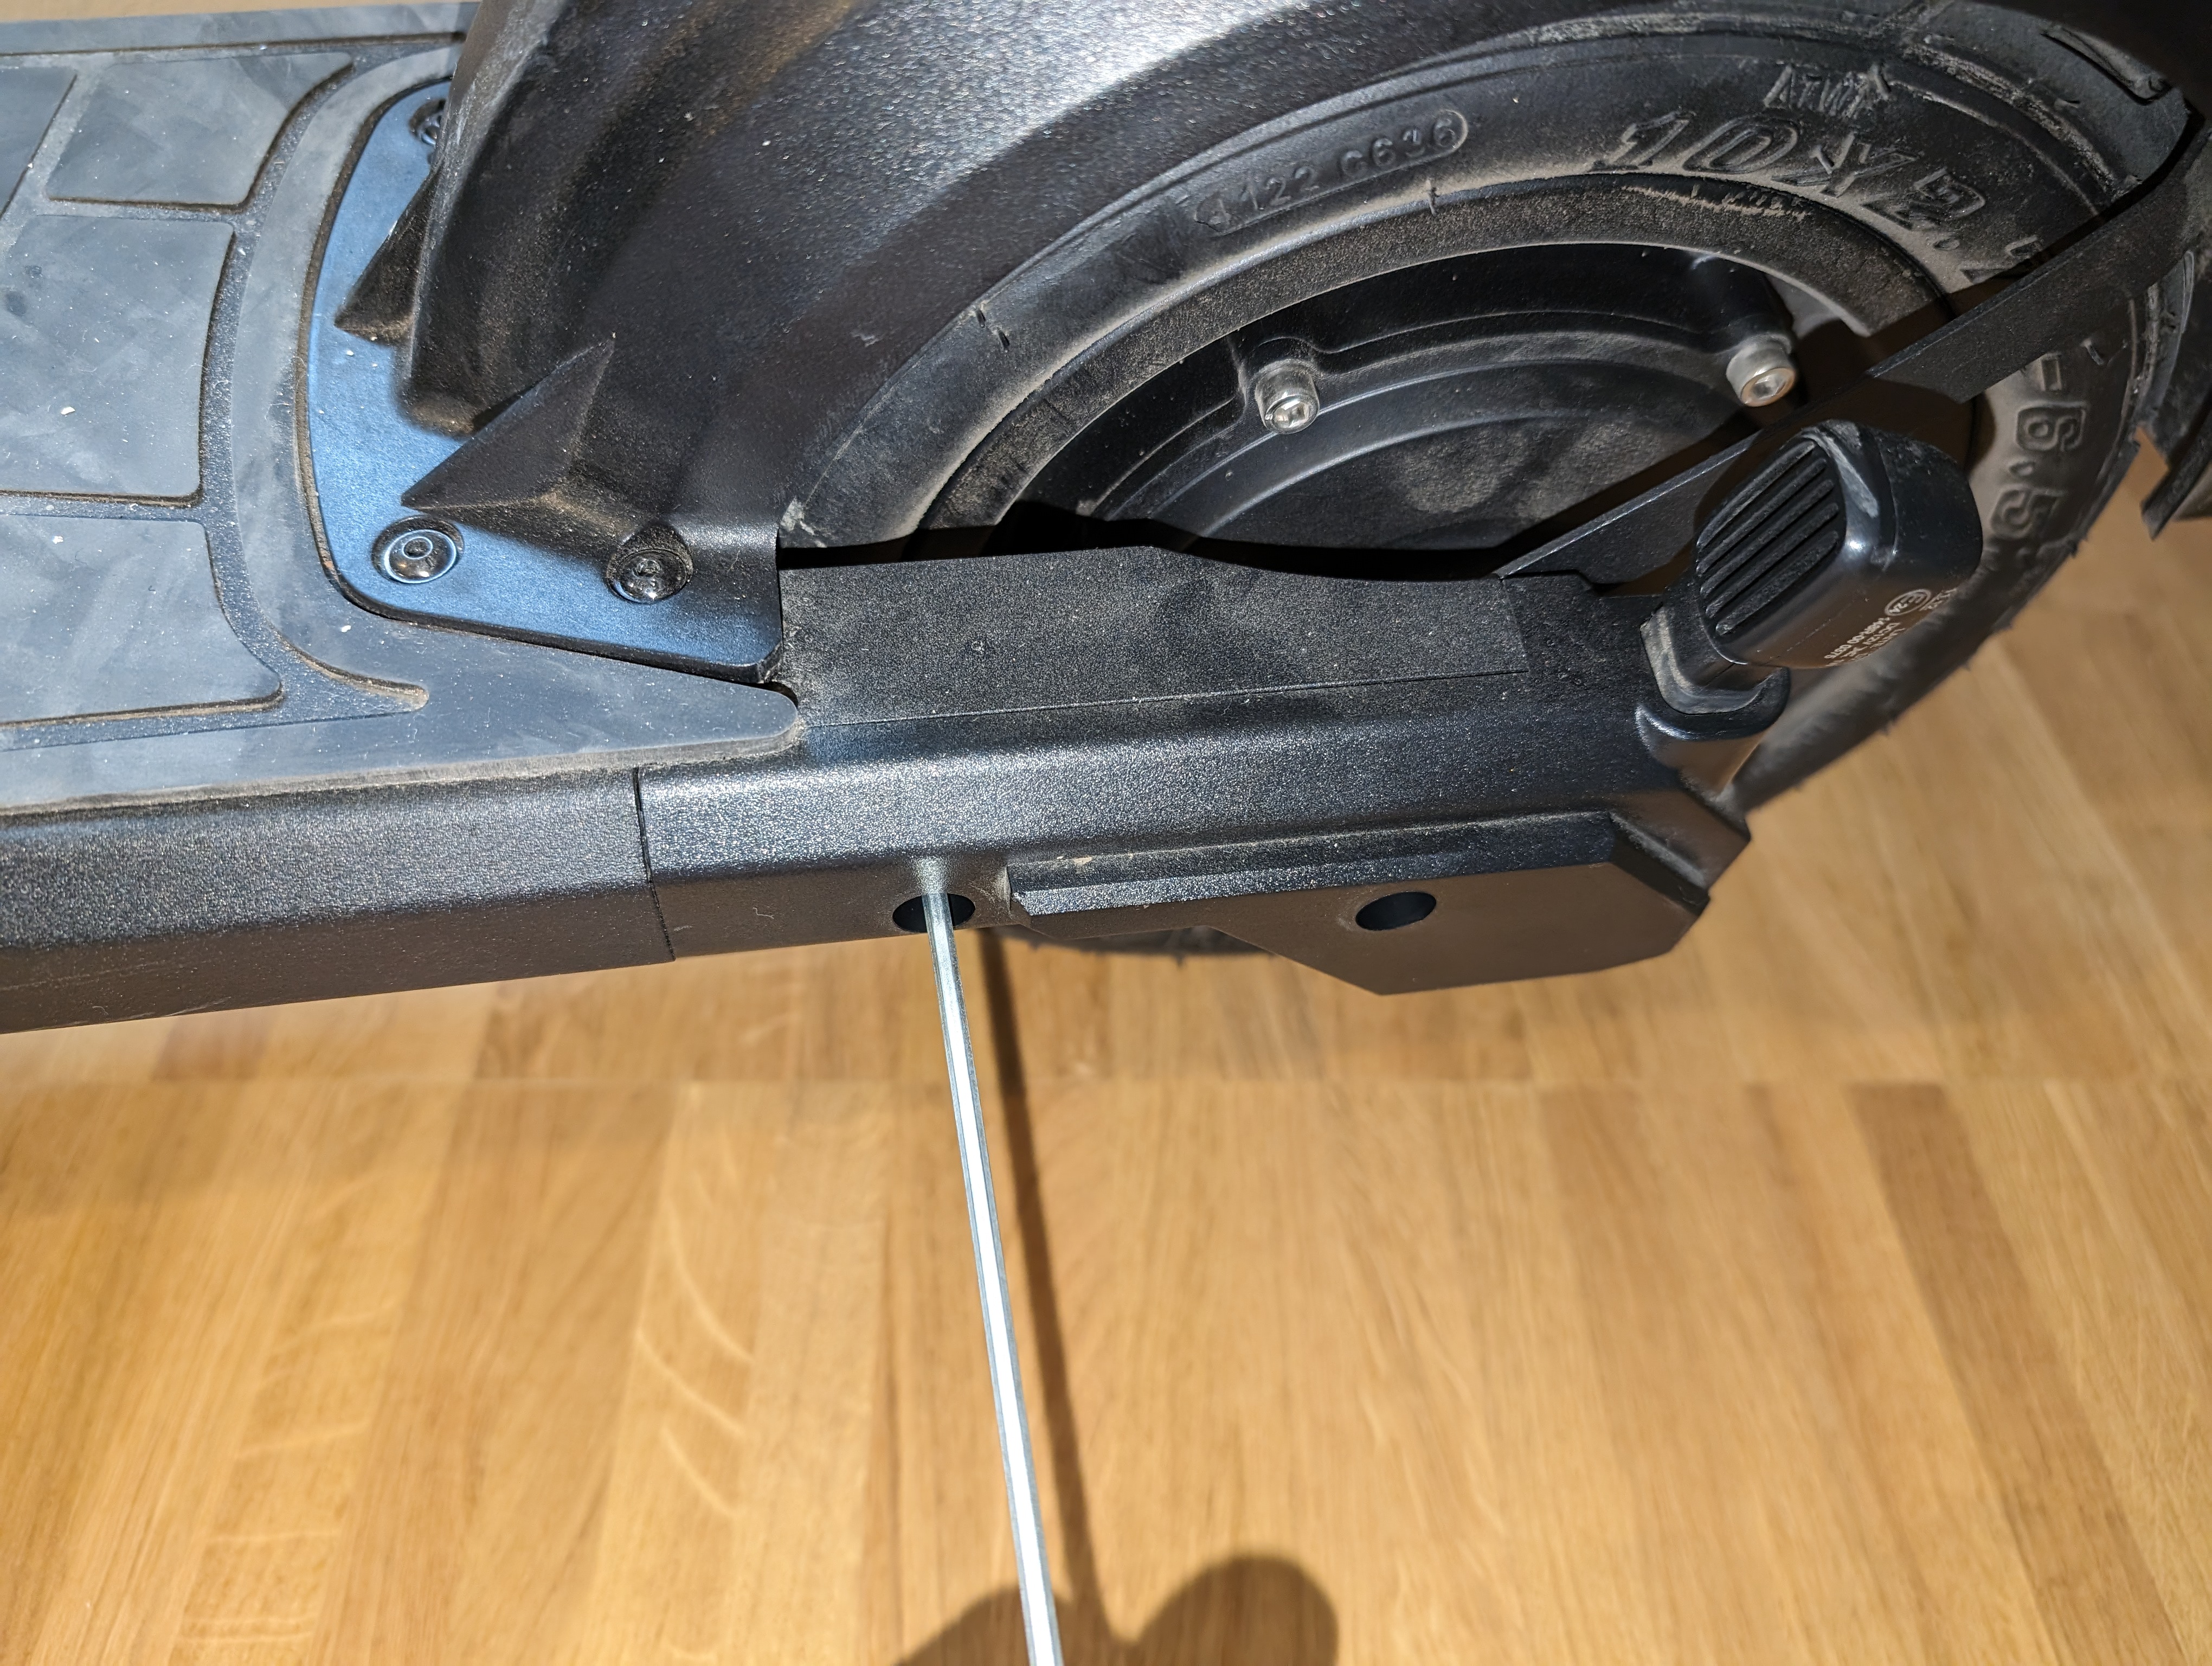
Remove the engine covers on the left and right.
Loosen the motor shaft and mounting plates
Loosen the motor shaft and the mounting plates.
Make sure the motor doesn't fall out uncontrollably. Hold it firmly and remove it carefully.
Check the result
After assembly, check to make sure that all relevant parts are installed correctly and are functioning properly. Pay particular attention to ensuring that the motor is securely mounted, that the cables are routed correctly, and that all connectors are securely connected.
Frequently Asked Questions
Here you'll find answers to frequently asked questions about engine removal on the VMAX VX2 PRO.
What is the thread on the motor cable for?
The thread serves as an aid to make it easier to pull the motor cable through the cable channel during installation. Without this aid, threading the cable can be significantly more difficult.
Do I have to completely disconnect all four cables?
Yes, to completely remove the motor, you must disconnect the cables leading to it. Be sure to disconnect the connectors carefully and reconnect them correctly later.
Can I just replace the jacket on the motor?
Yes, according to the original instructions, you can either replace the entire motor or just the housing mounted on the motor. Removing the motor is the first step in this process.