


In dieser Anleitung zeigen wir dir Schritt für Schritt, wie du das Frontlicht an deinem VMAX E-Scooter VX2 PRO / VX2 Extreme selbst tauschen kannst.
Tools Required
- Allen 2.5 mm
- Messer oder Schere
- Schrumpfschlauch
- Hot-air dryer or lighter
- optional: Inbus 3 mm
Instructions
Schraube des Frontlichts lösen
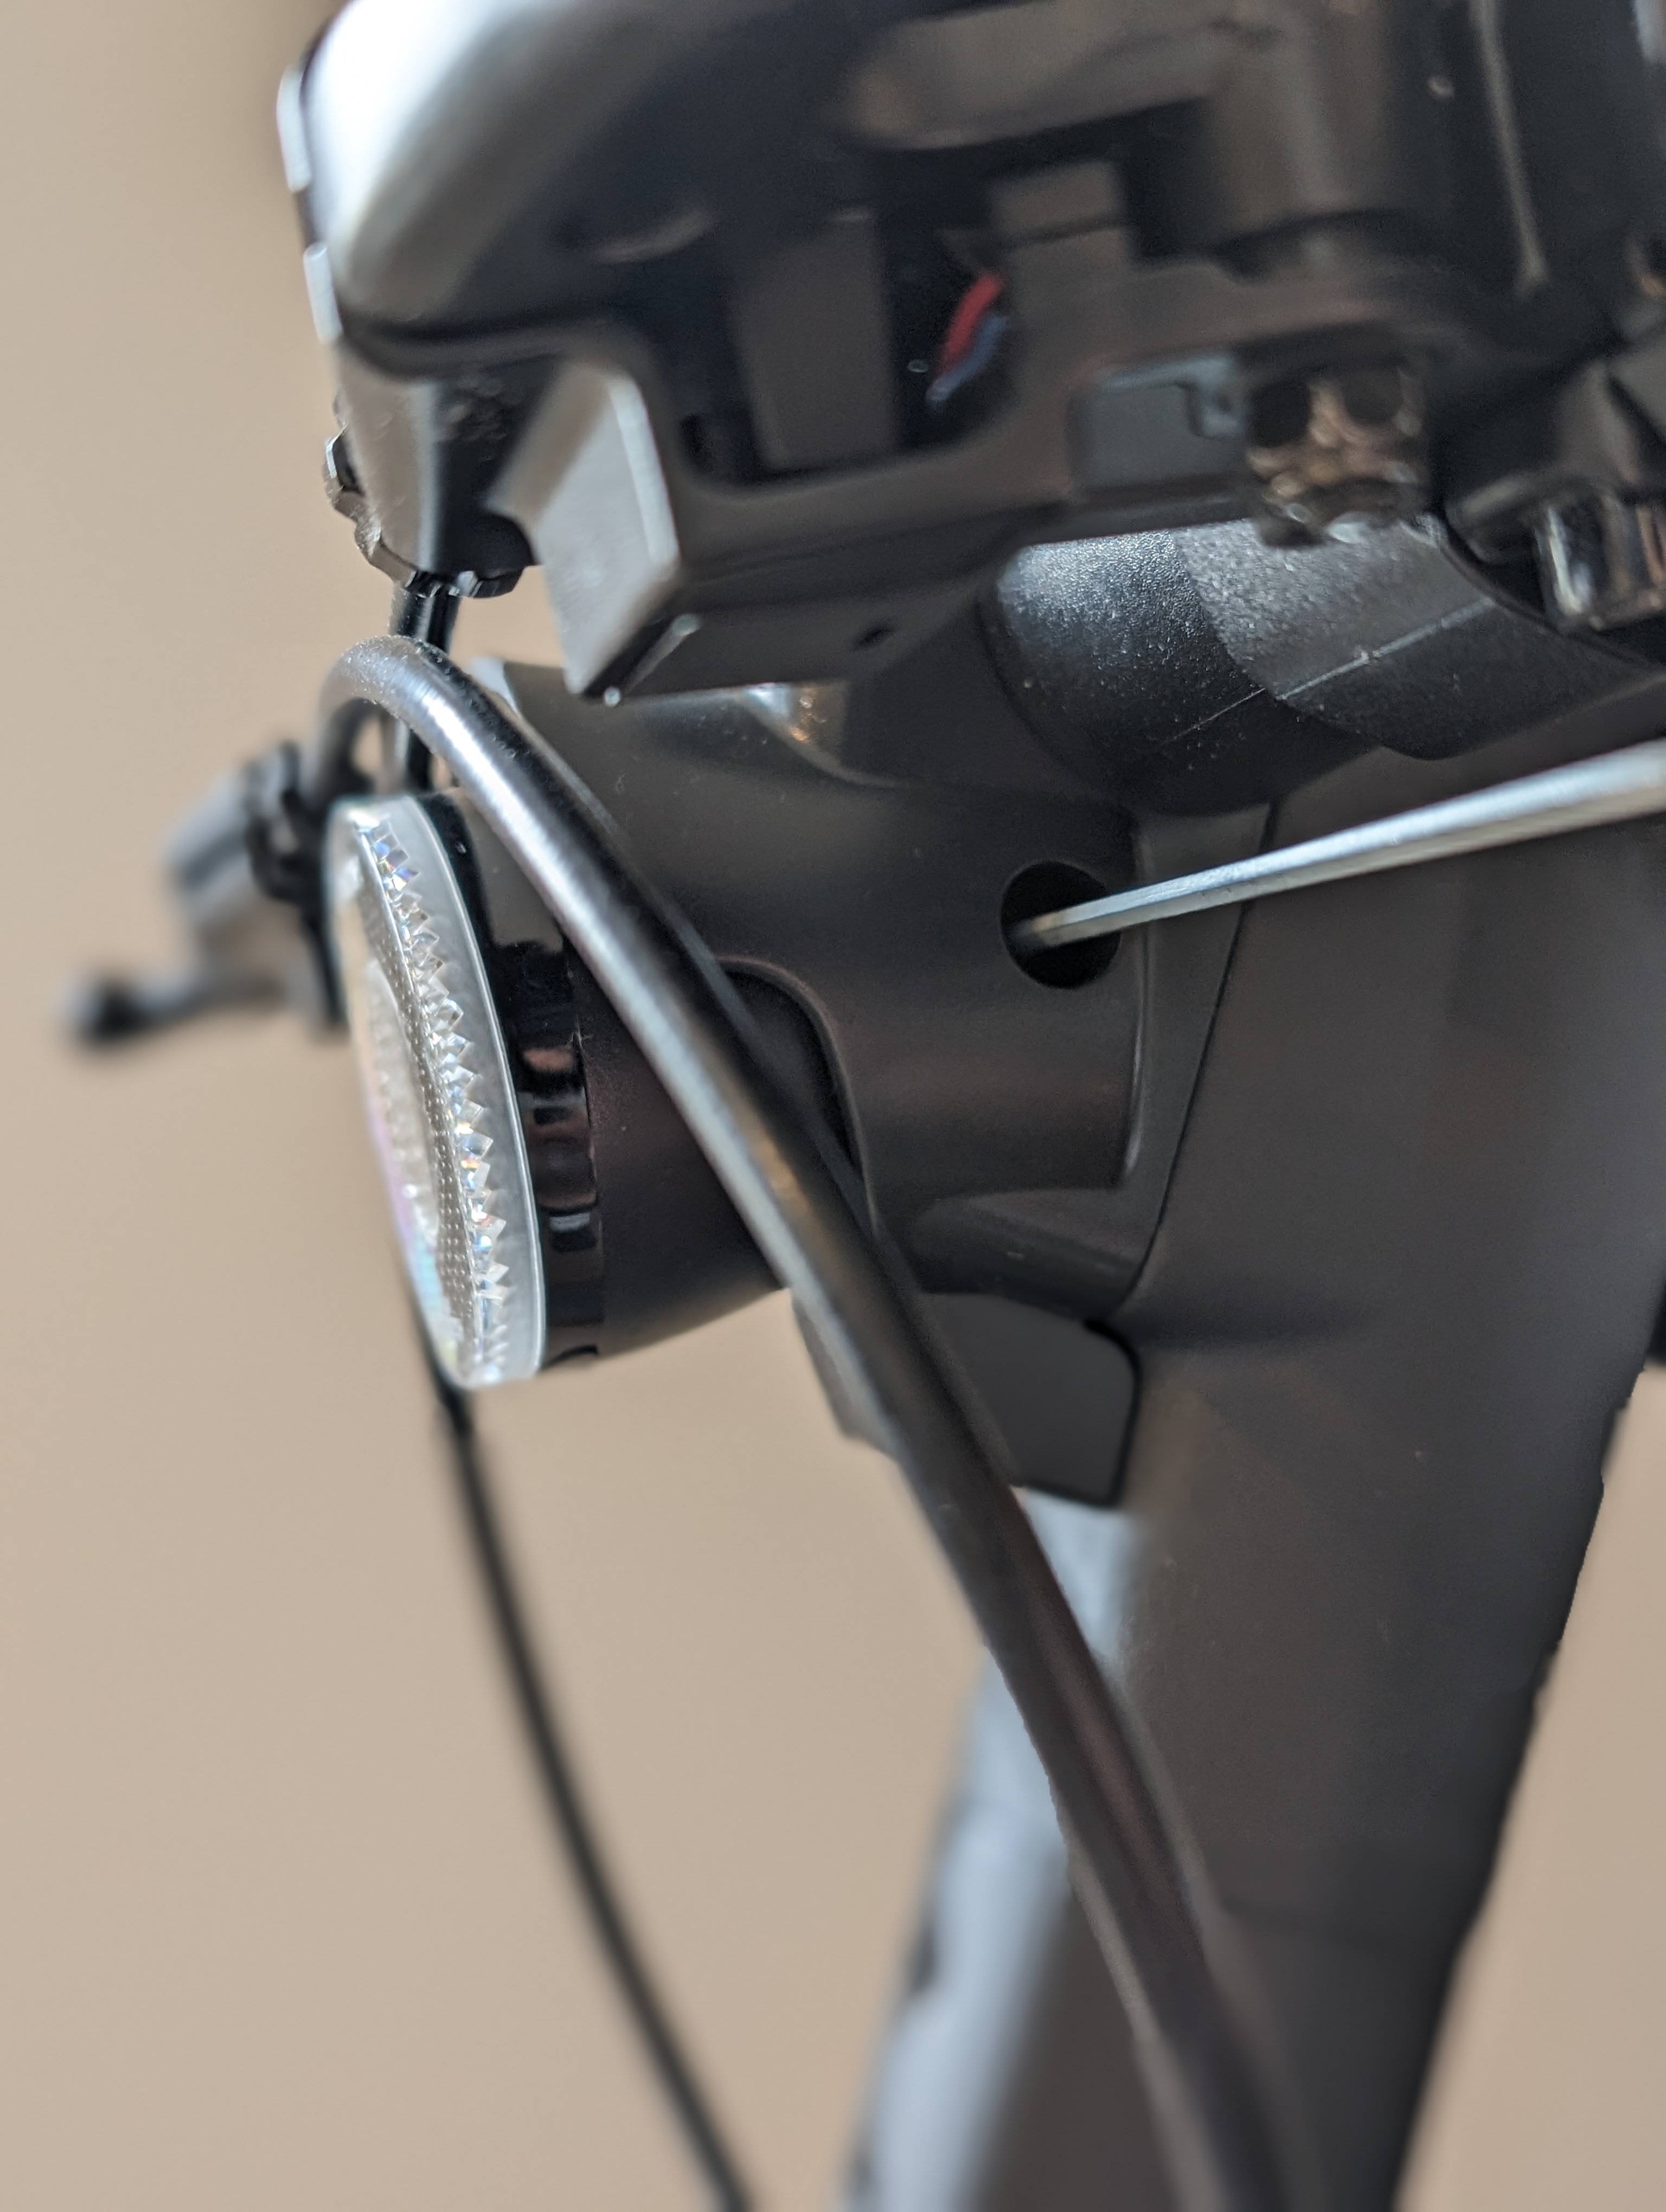
Um das Licht zu wechseln, löst du zuerst die Schraube, die das Frontlicht hält.
Frontlicht herausziehen
Anschliessend kannst du das Licht nach vorne aus der Abdeckung herausziehen.
Falls sich das Kabel verhakt, kannst du optional auch die Lichtabdeckung entfernen.
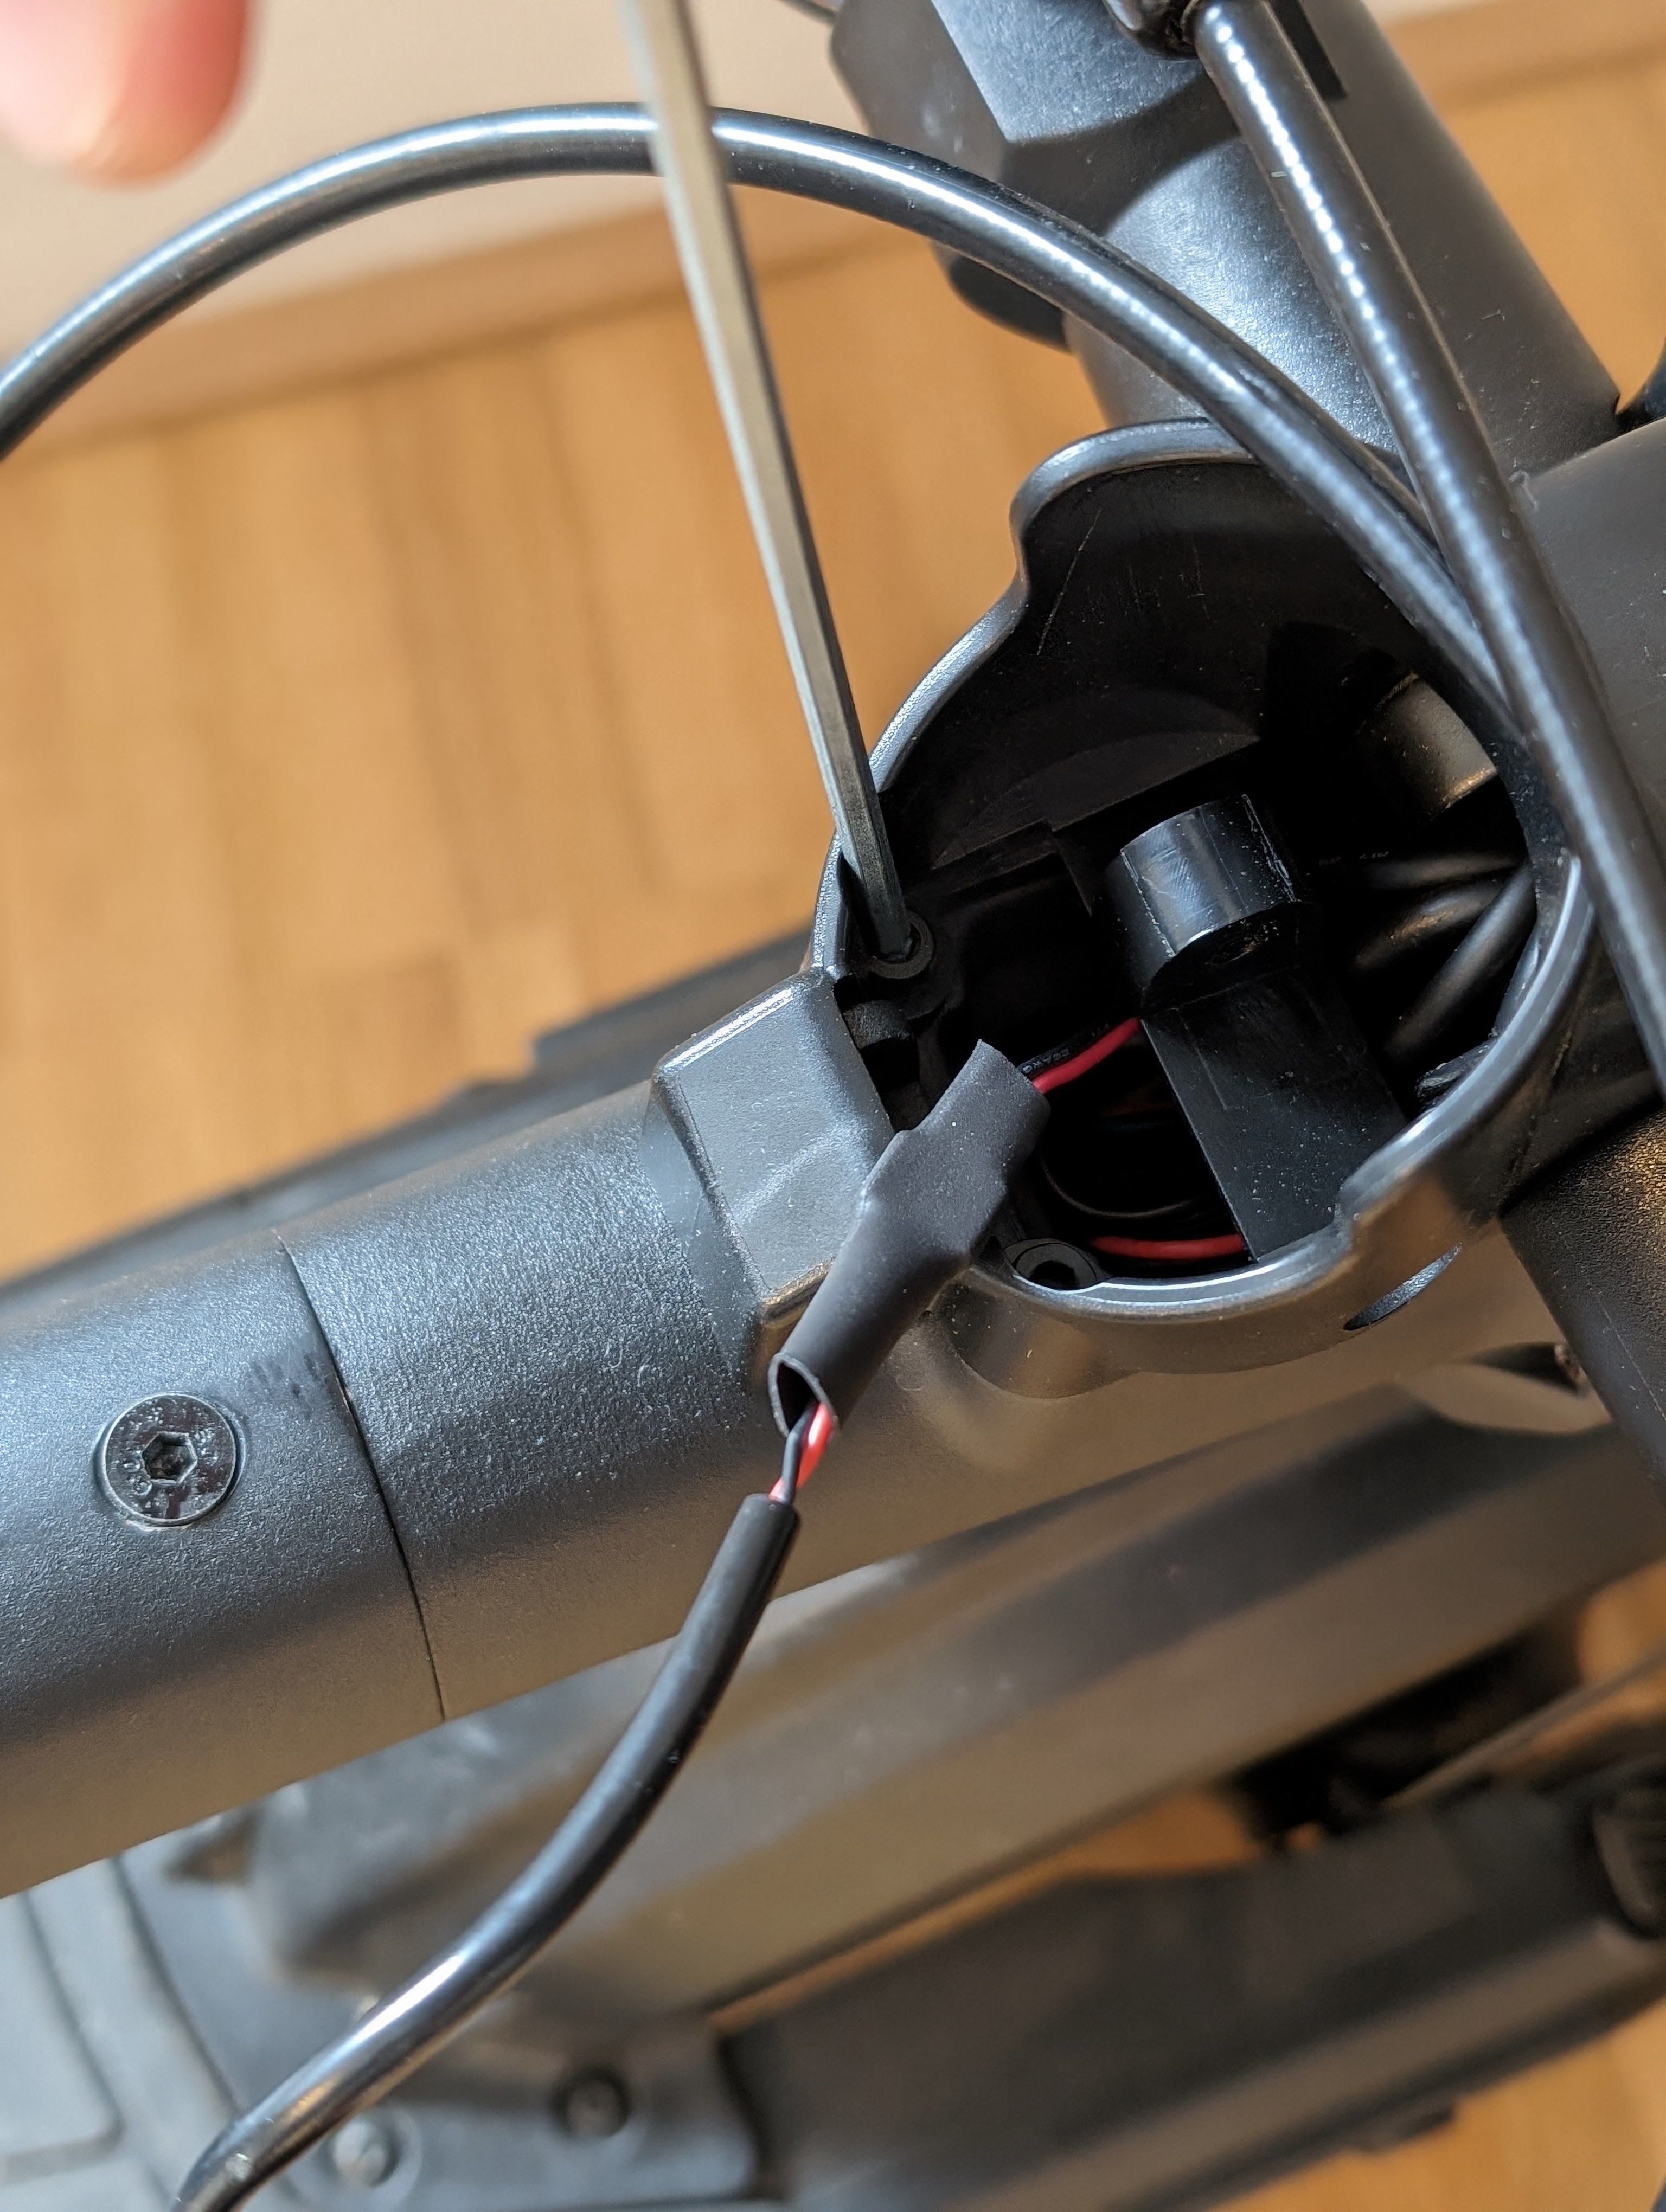
Steckverbindung freilegen
Trenne nun mit einem scharfen Gegenstand vorsichtig den Schrumpfschlauch auf. Achte darauf, das Kabel dabei nicht zu verletzen. Anschliessend kannst du das Licht abstecken.
Neues Frontlicht anschliessen
Bevor du das neue Licht ansteckst, führe den Schrumpfschlauch über den Stecker. Sobald das neue Licht angeschlossen ist, befestigst du den Schrumpfschlauch mit dem Heissluftföhn oder einem Feuerzeug.
Achtung: Nicht zu heiss werden lassen, damit der Stecker nicht beschädigt wird.
Kabel zurückschieben und Licht befestigen
Schiebe das Kabel zurück in den Lenkkopf. Abschliessend musst du das Frontlicht nur noch wieder festschrauben.
Check the result
Prüfe nach dem Zusammenbau, ob das Frontlicht fest sitzt und korrekt funktioniert. Kontrolliere besonders die sichere Befestigung, die saubere Kabelführung und ob das Licht einwandfrei leuchtet.
Frequently Asked Questions
Here you'll find answers to frequently asked questions about this repair.
Worauf muss ich beim Schrumpfschlauch achten?
Schiebe den Schrumpfschlauch vor dem Verbinden des neuen Lichts über den Stecker. Beim Erhitzen solltest du vorsichtig arbeiten und nicht zu viel Hitze verwenden, damit der Stecker nicht beschädigt wird.
Was mache ich, wenn das neue Frontlicht nach dem Einbau nicht funktioniert?
Prüfe zuerst die Steckverbindung und kontrolliere, ob der Stecker korrekt verbunden ist. Wenn alles richtig angeschlossen ist und das Problem weiterhin besteht, sollte das Licht oder die Verkabelung genauer geprüft werden.