


In this guide, we'll show you step by step how to replace the controls on the handlebar of your VMAX VX2 PRO e-scooter VX2 PRO .
Tools Required
- Allen 2,5 mm
- Allen 3 mm
- Allen 5 mm
- Scissors
- Electrical tape or heat-shrink tubing
- Hot-air dryer or lighter
You VX2 PRO all the replacement parts for your VX2 PRO here: View replacement parts
Instructions
Remove the headlight
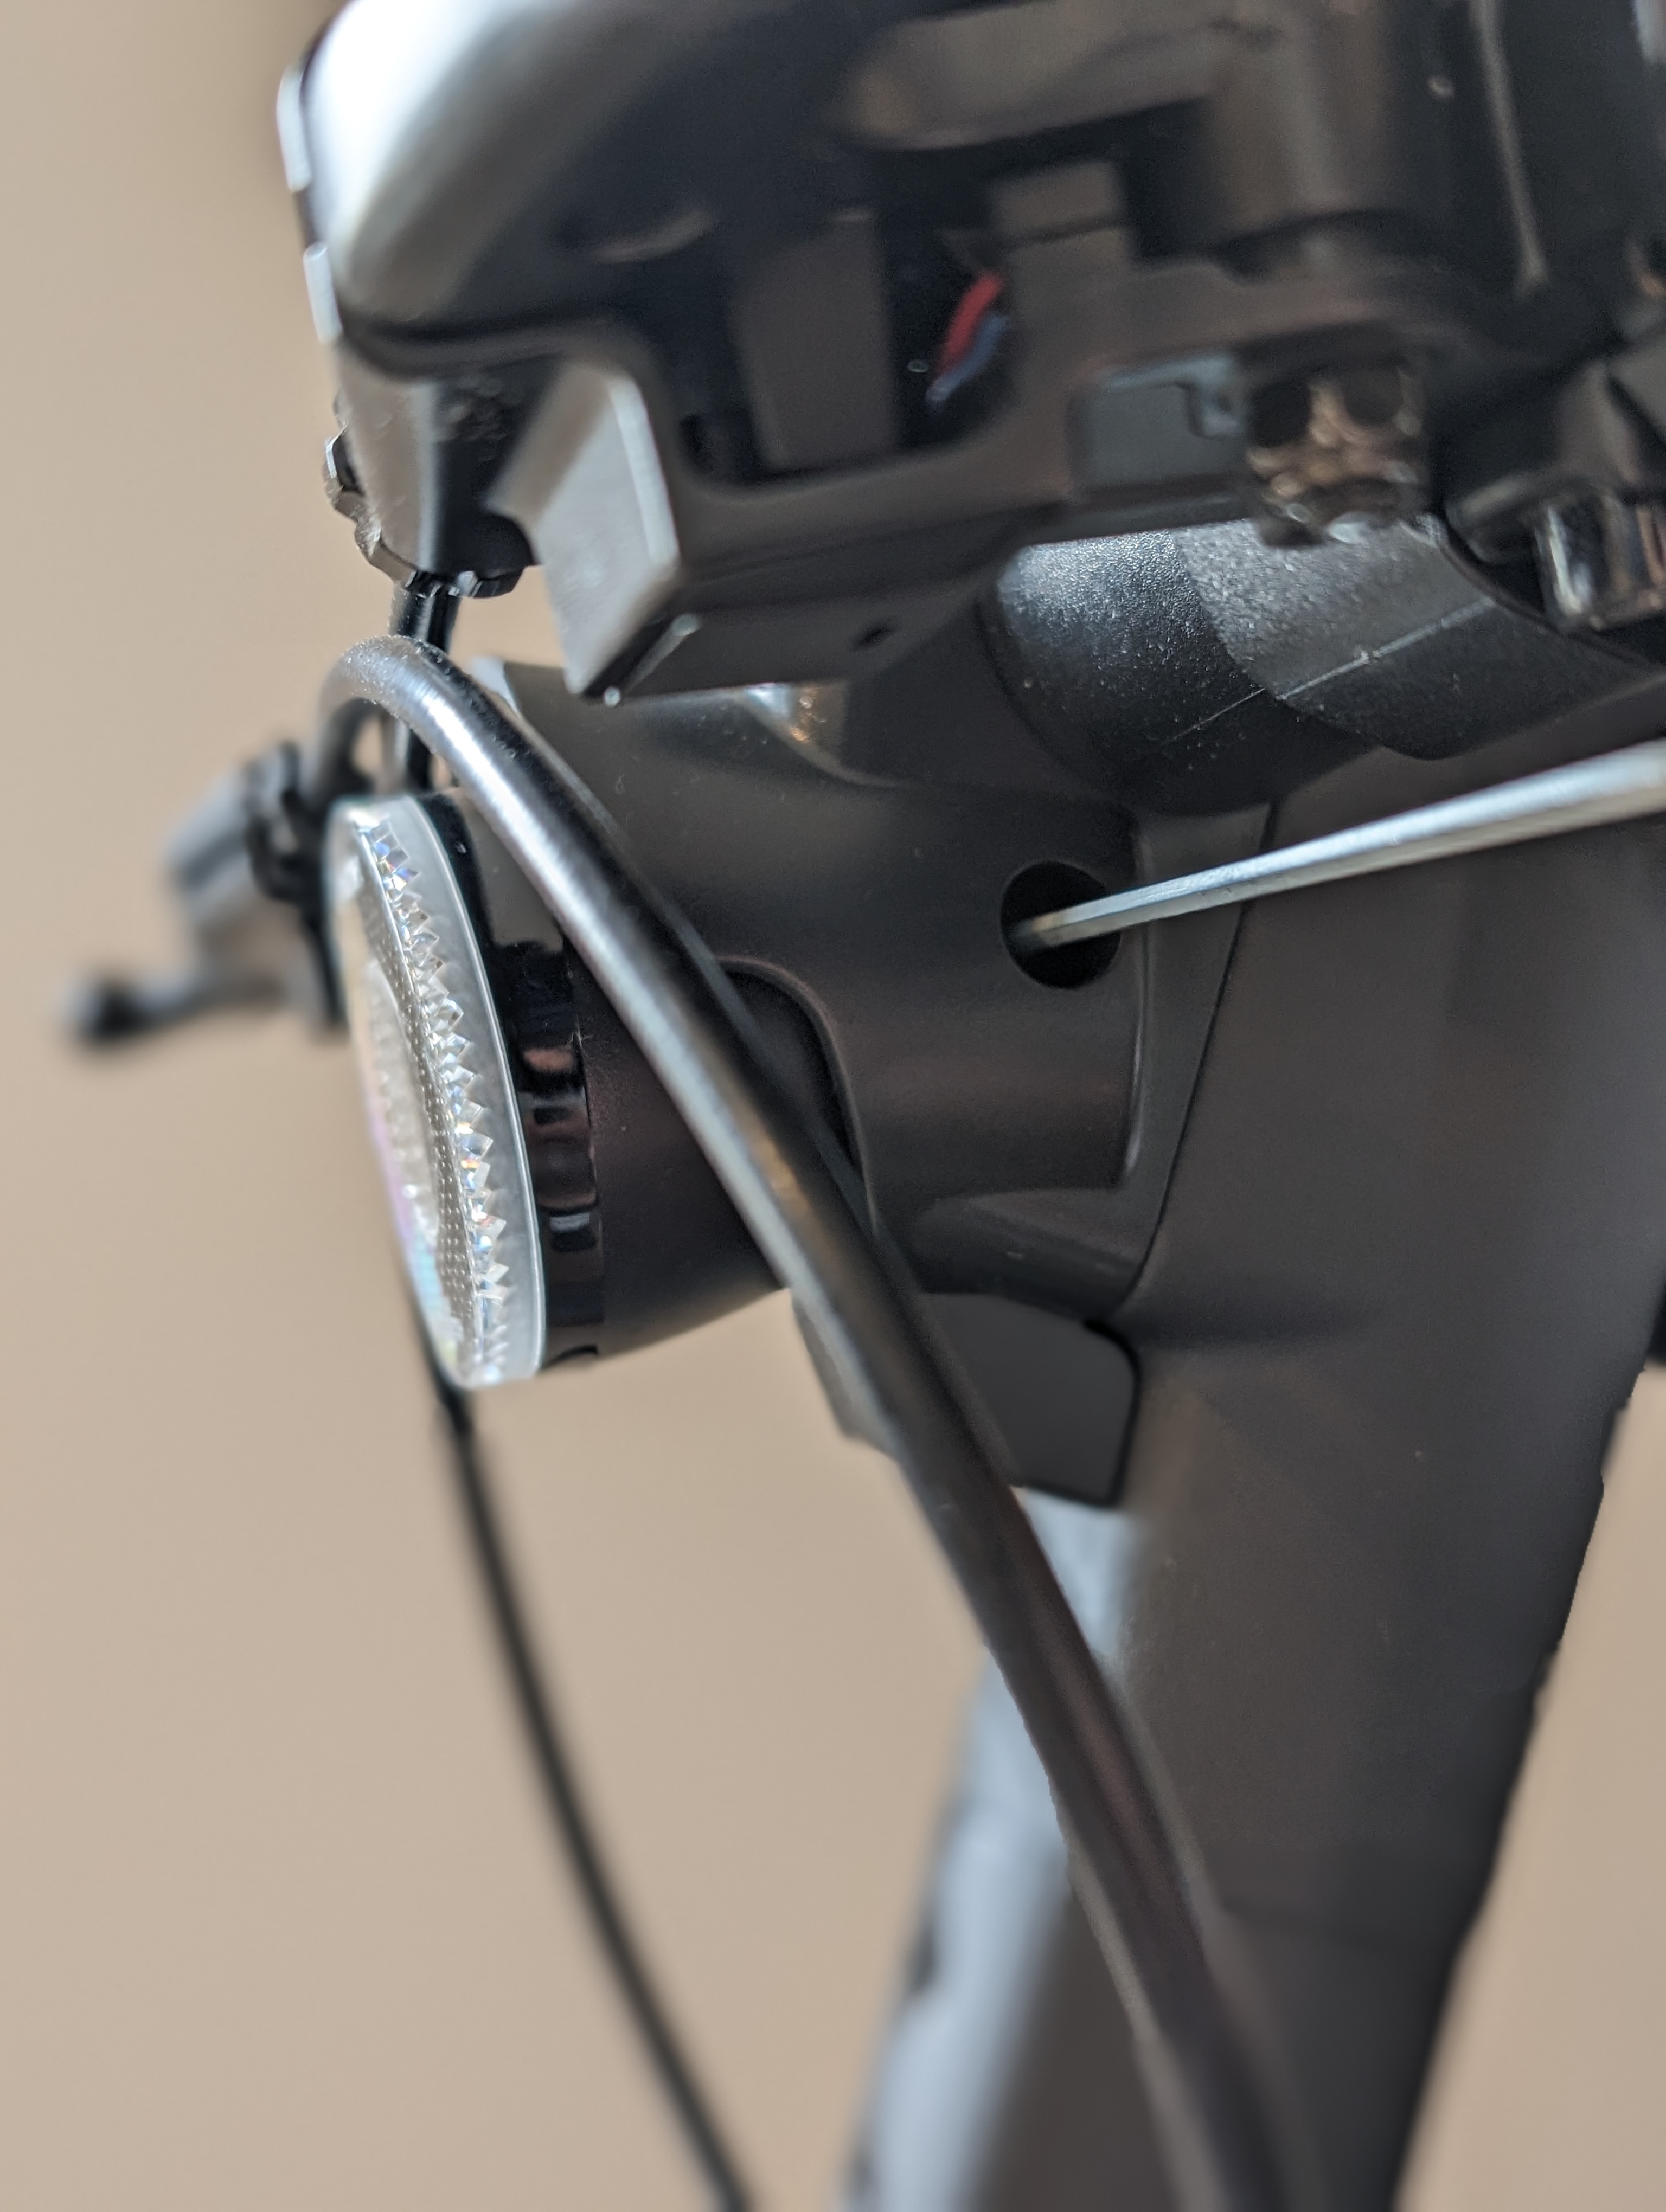
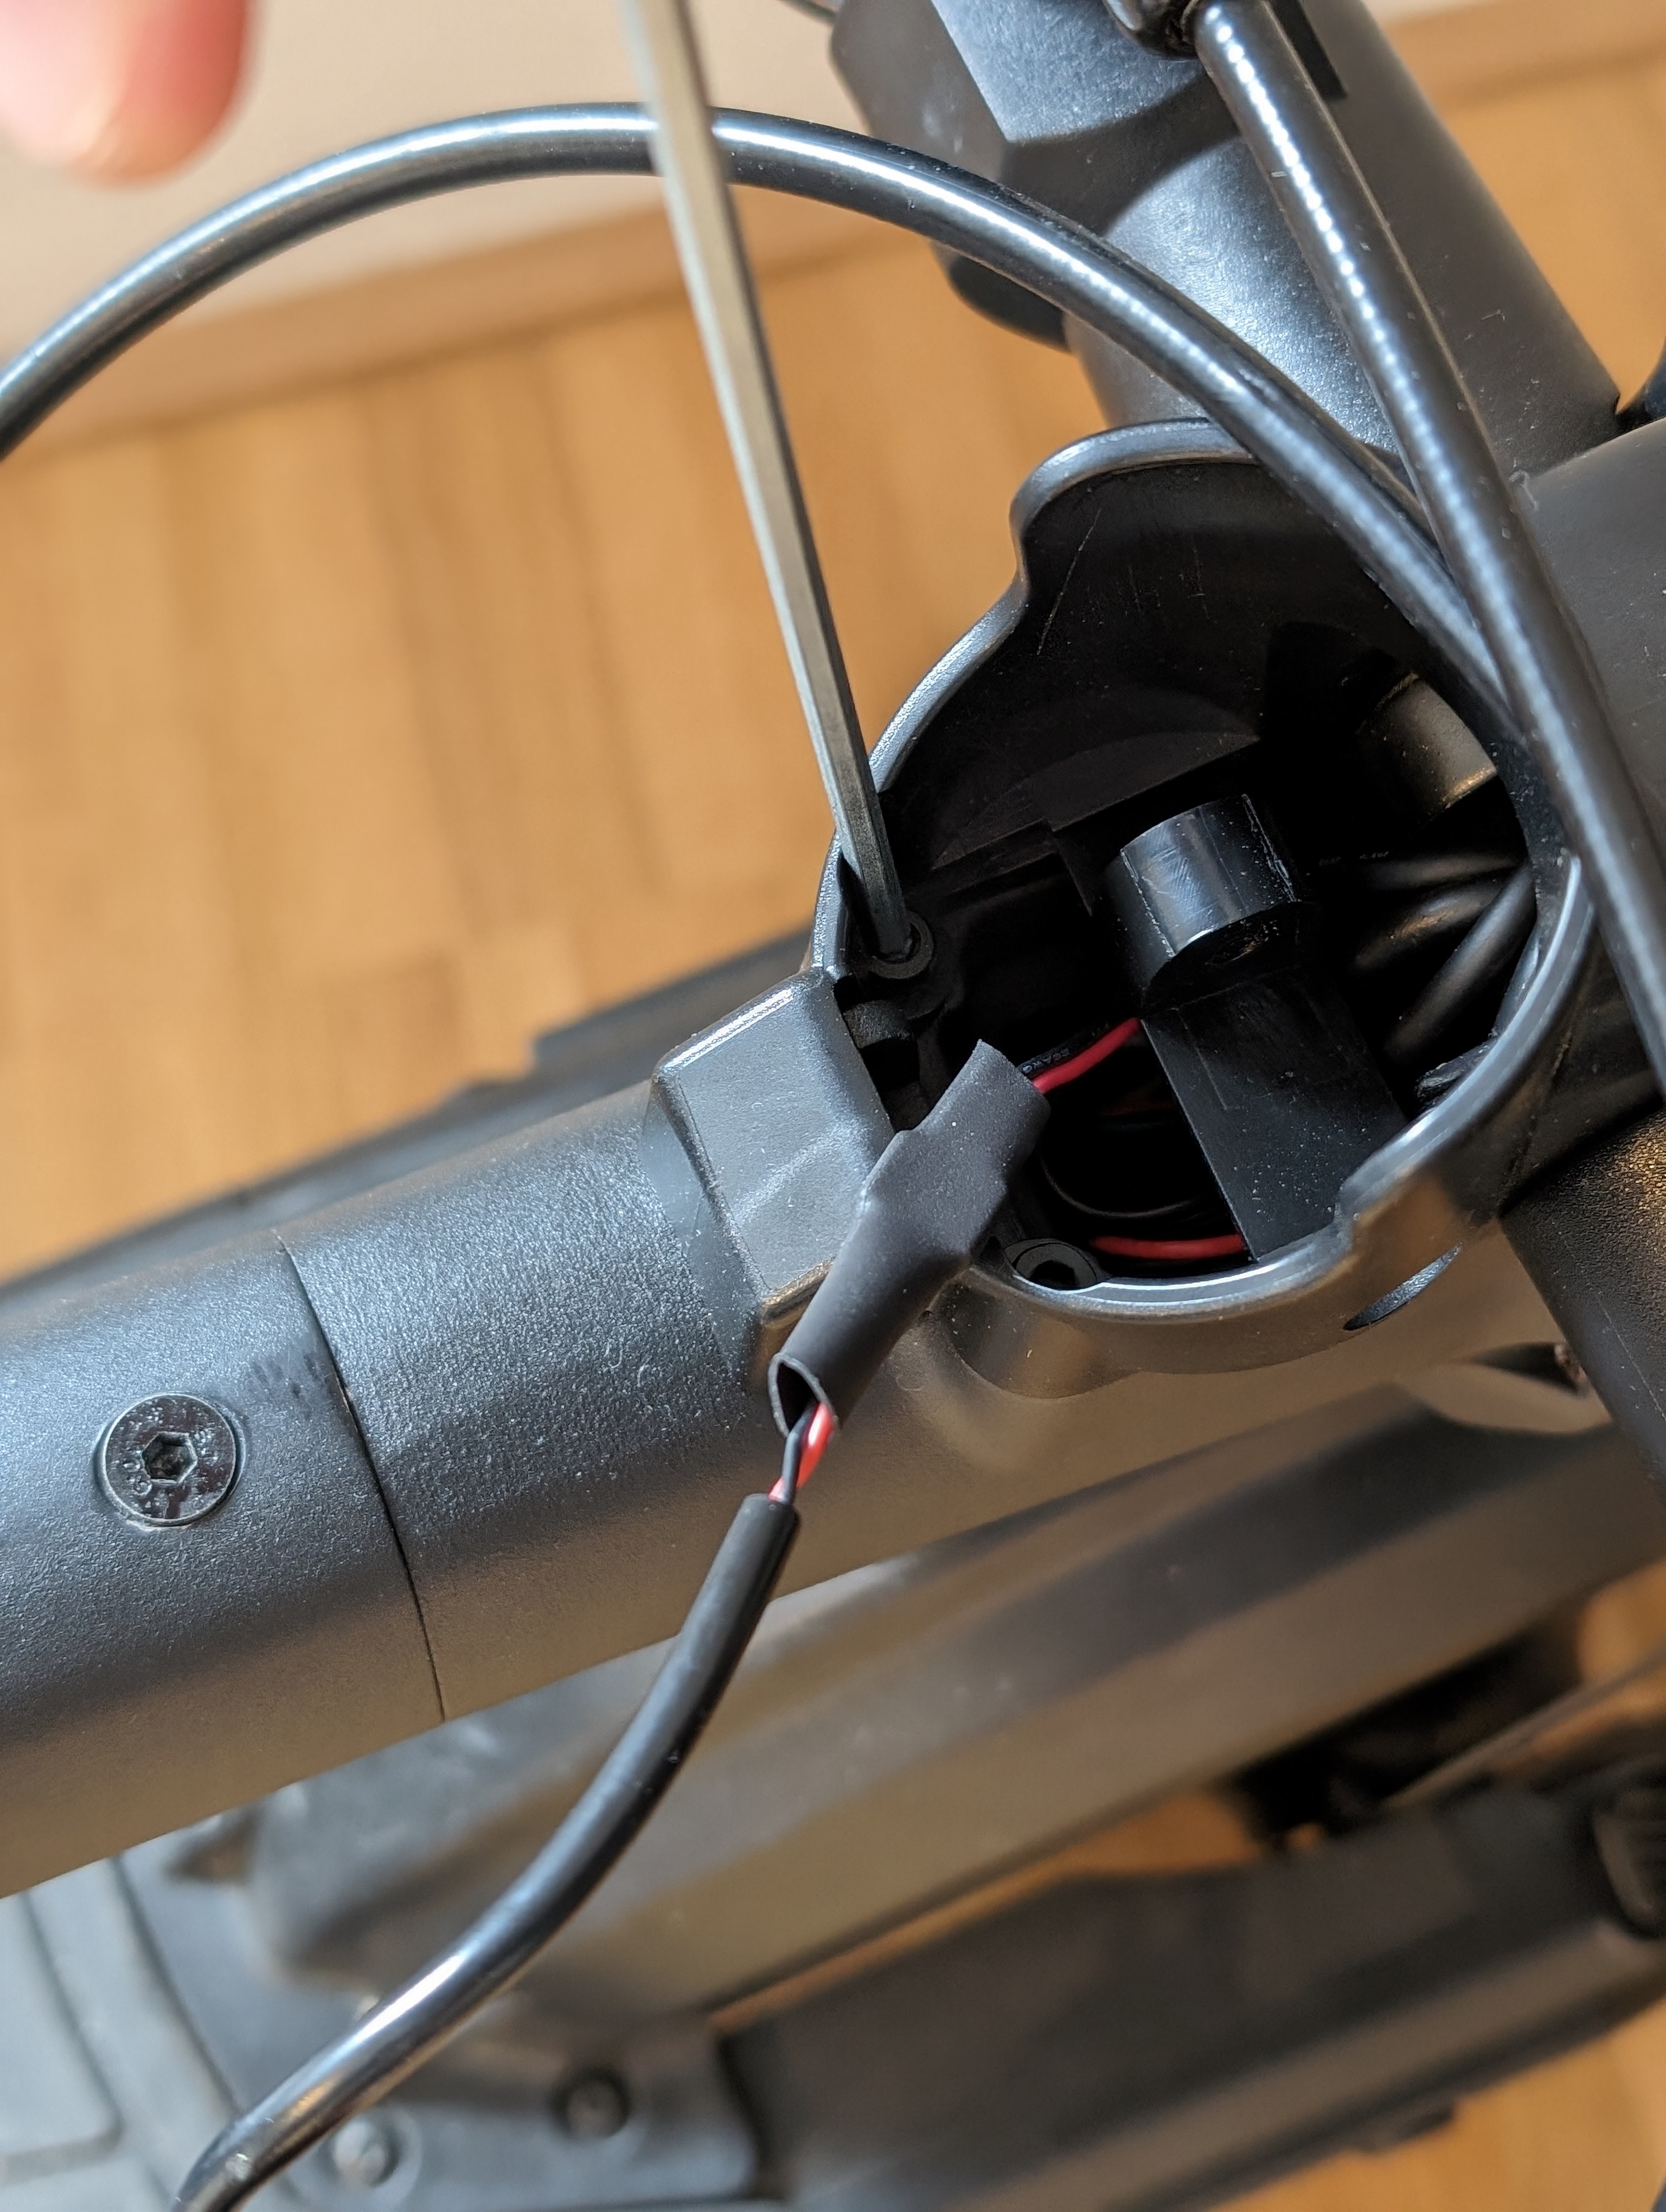
The wiring for your handlebar assembly is hidden behind your headlight. So first, remove the headlight by unscrewing the retaining screw behind this hole.
Remove the headlight cover
Now you can see the two screws that hold the light cover in place. You can remove those as well.
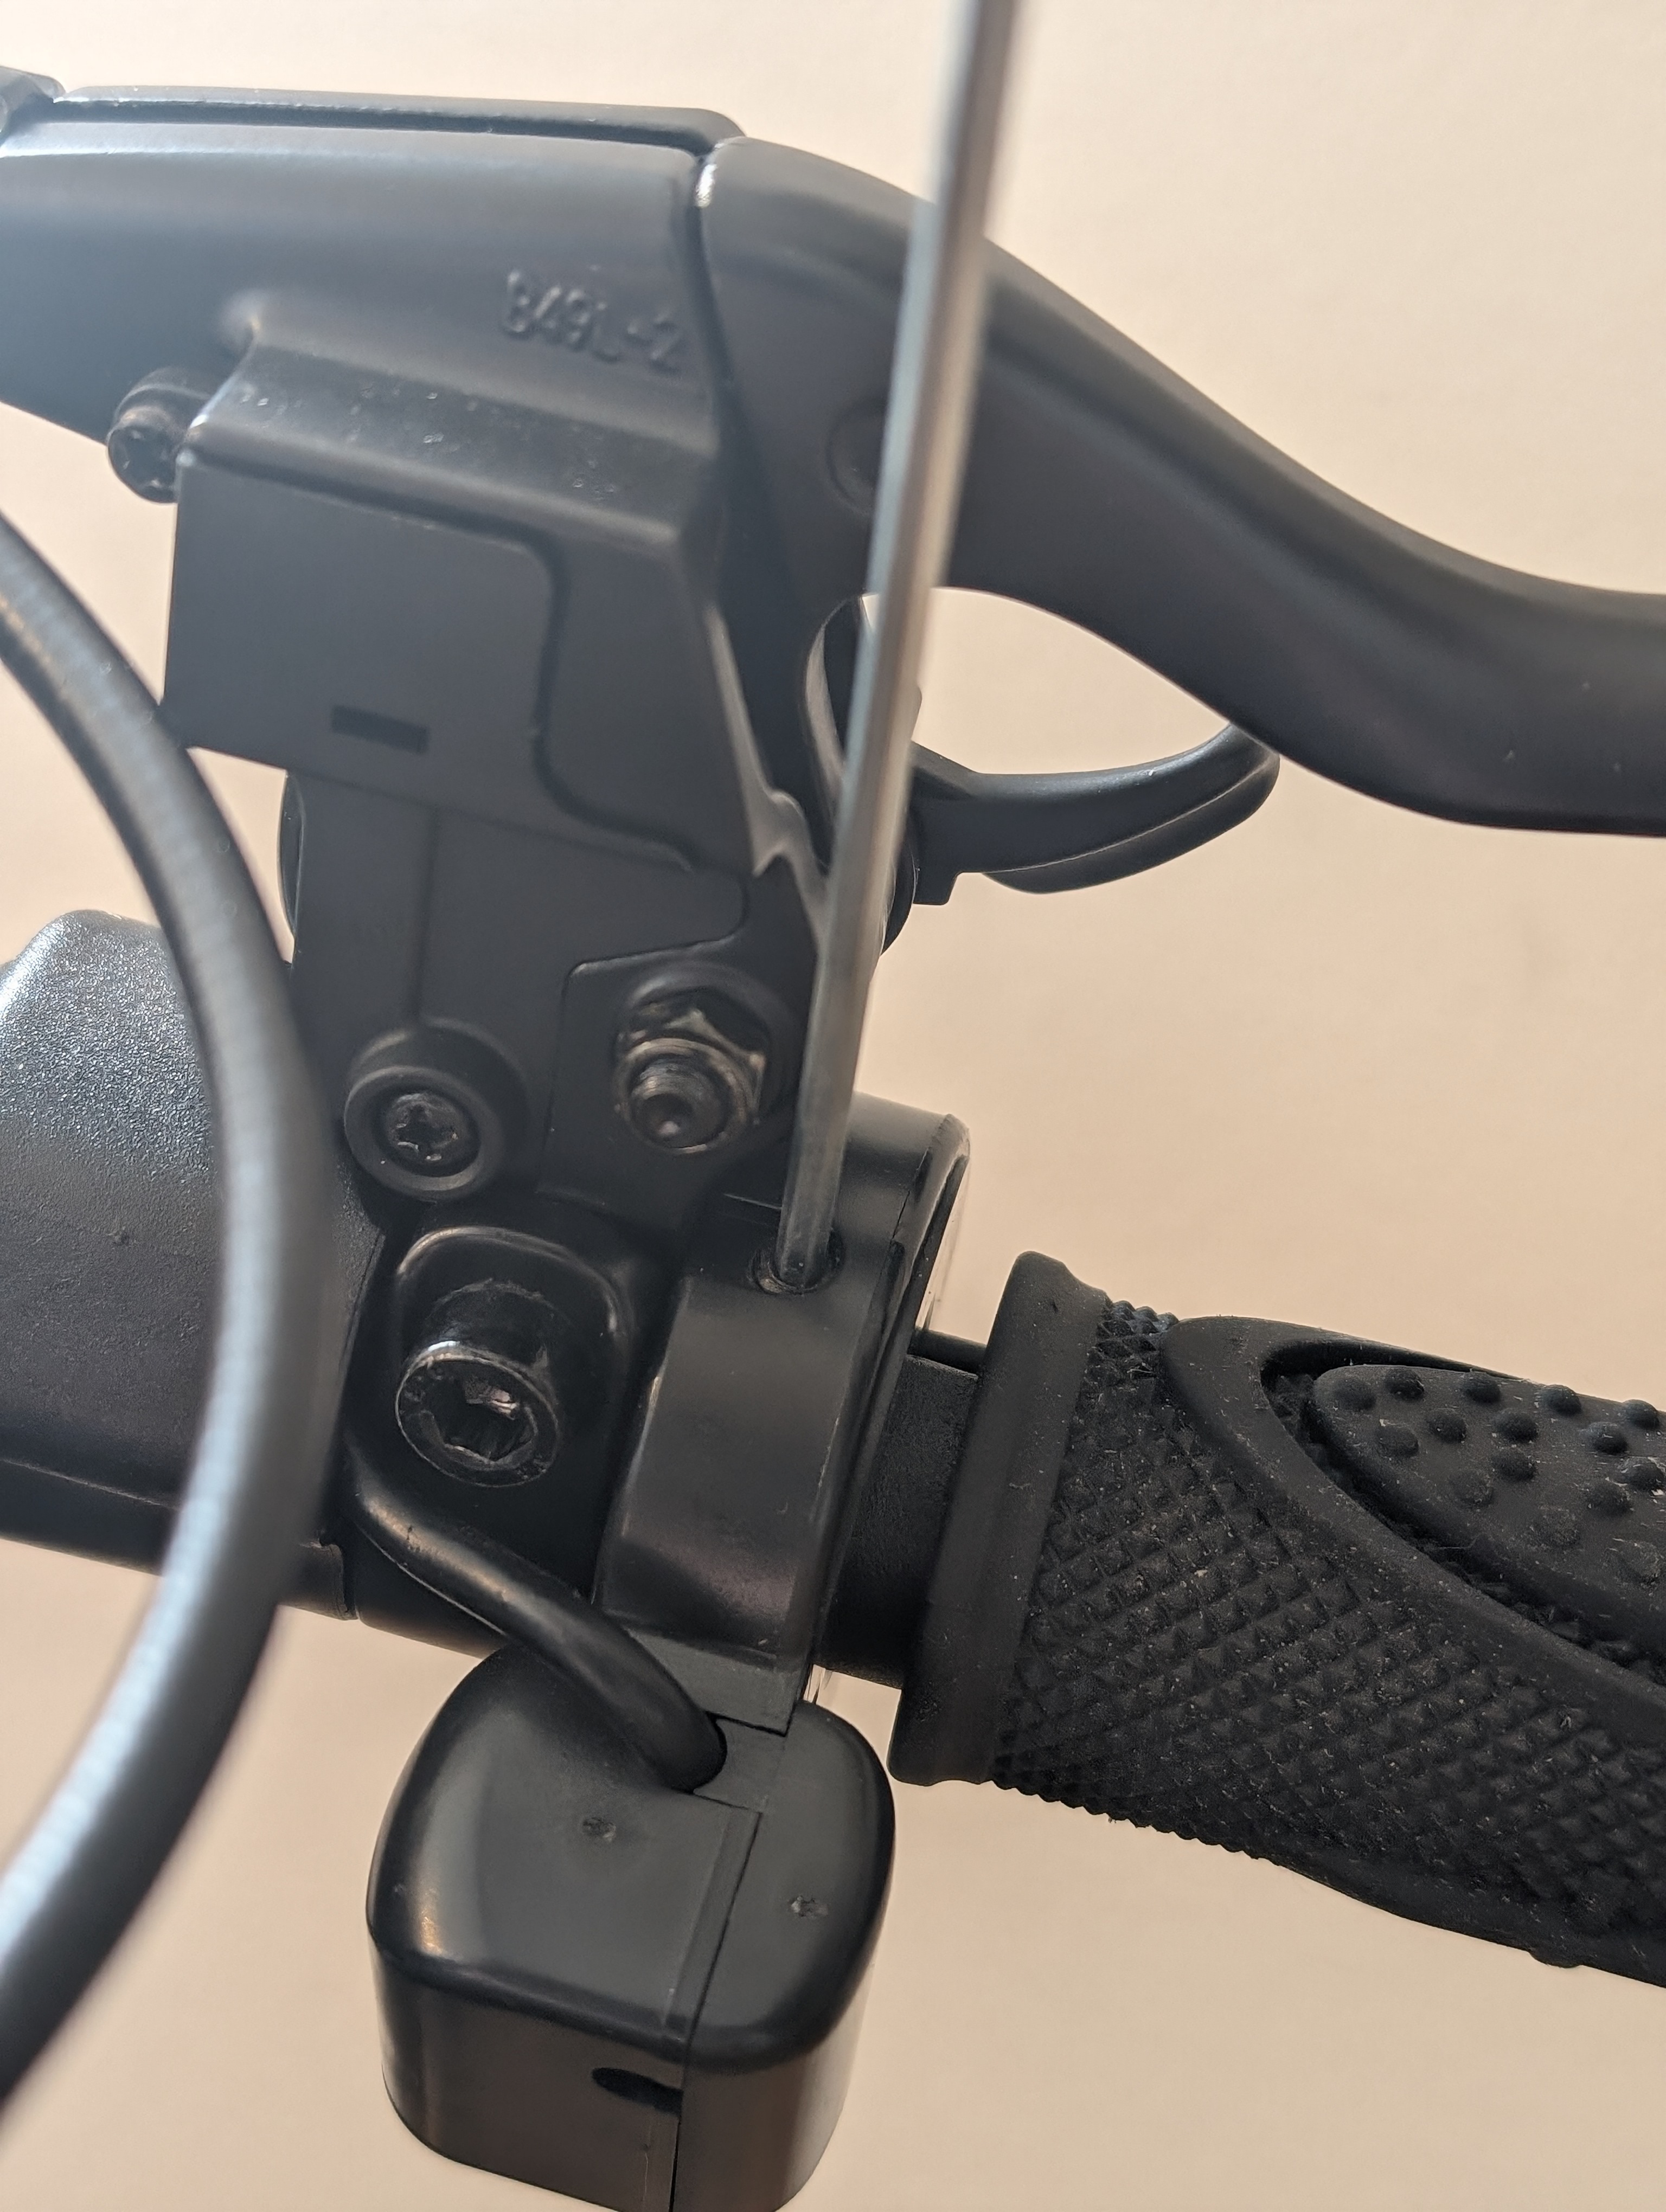
Loosen the handlebar clamp
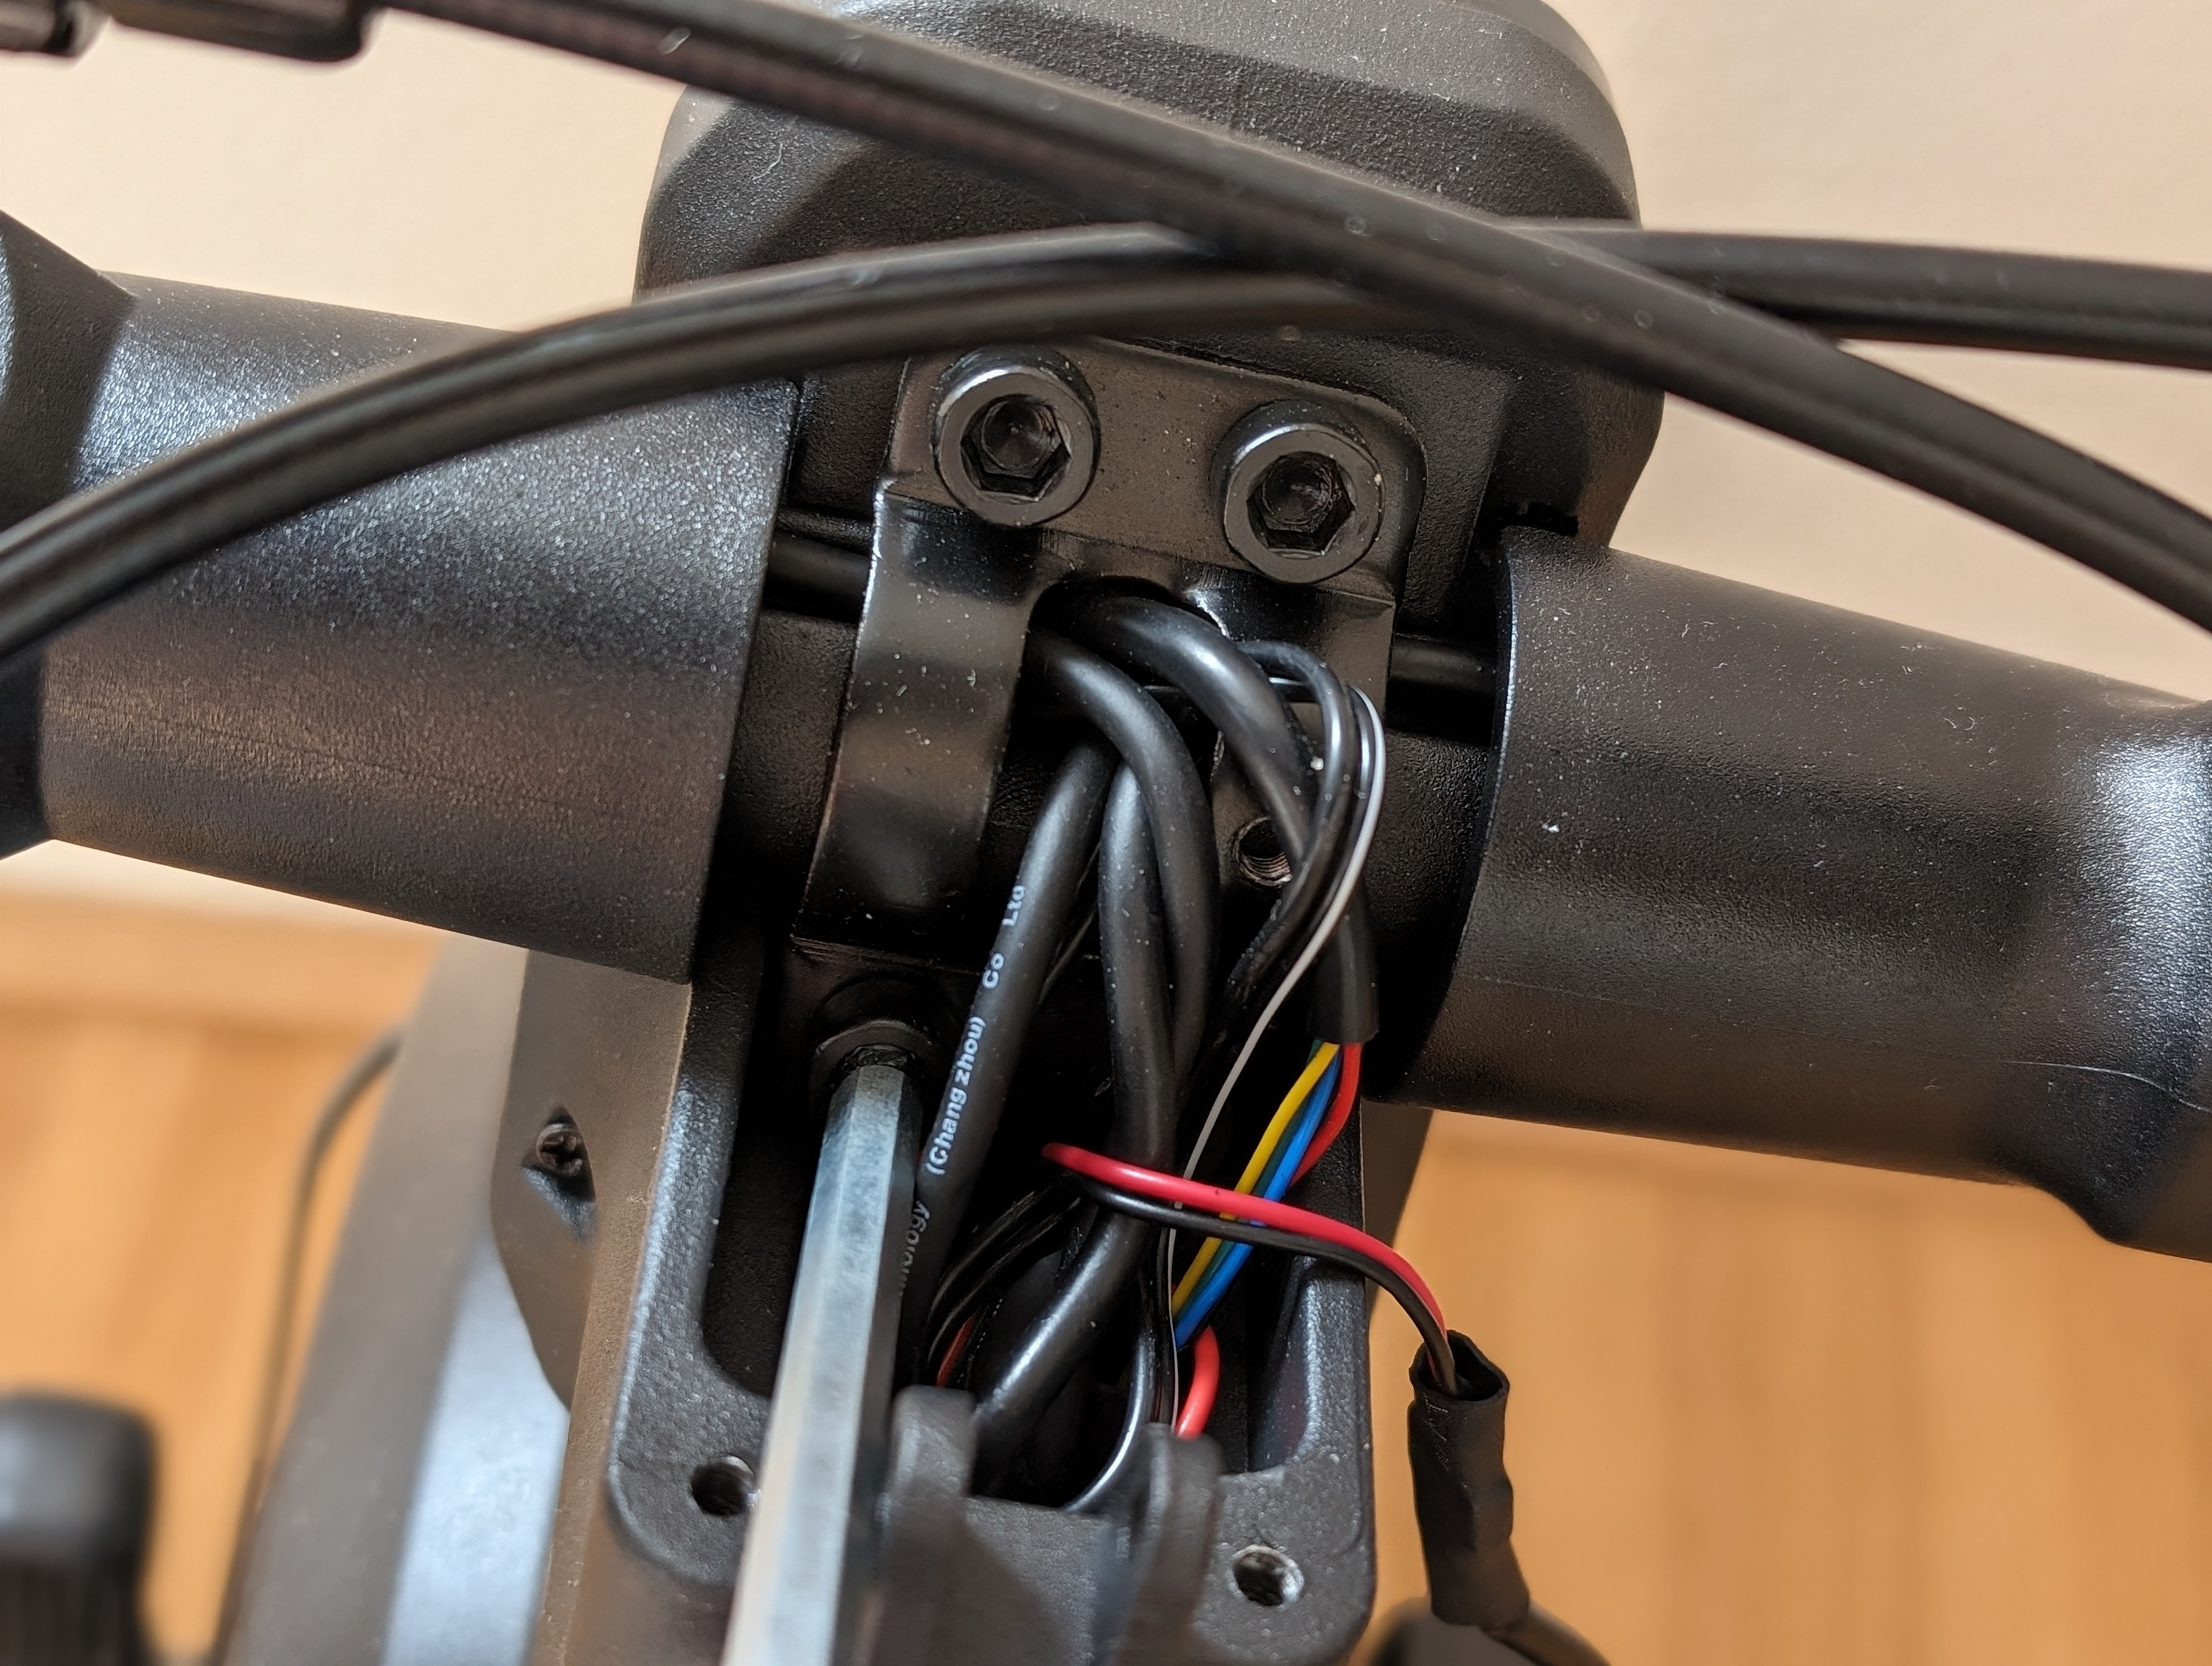
Next, you can loosen the handlebar clamp. It is secured to the handlebar stem with four Allen screws.
Release the relevant controls on the desired page

Depending on which control you want to replace, you'll need to remove all the components on the corresponding side of the scooter so you can route the cables inside the handlebars.
To do this, loosen the corresponding clamping screws and the screw under the turn signal.
Release the thumb throttle
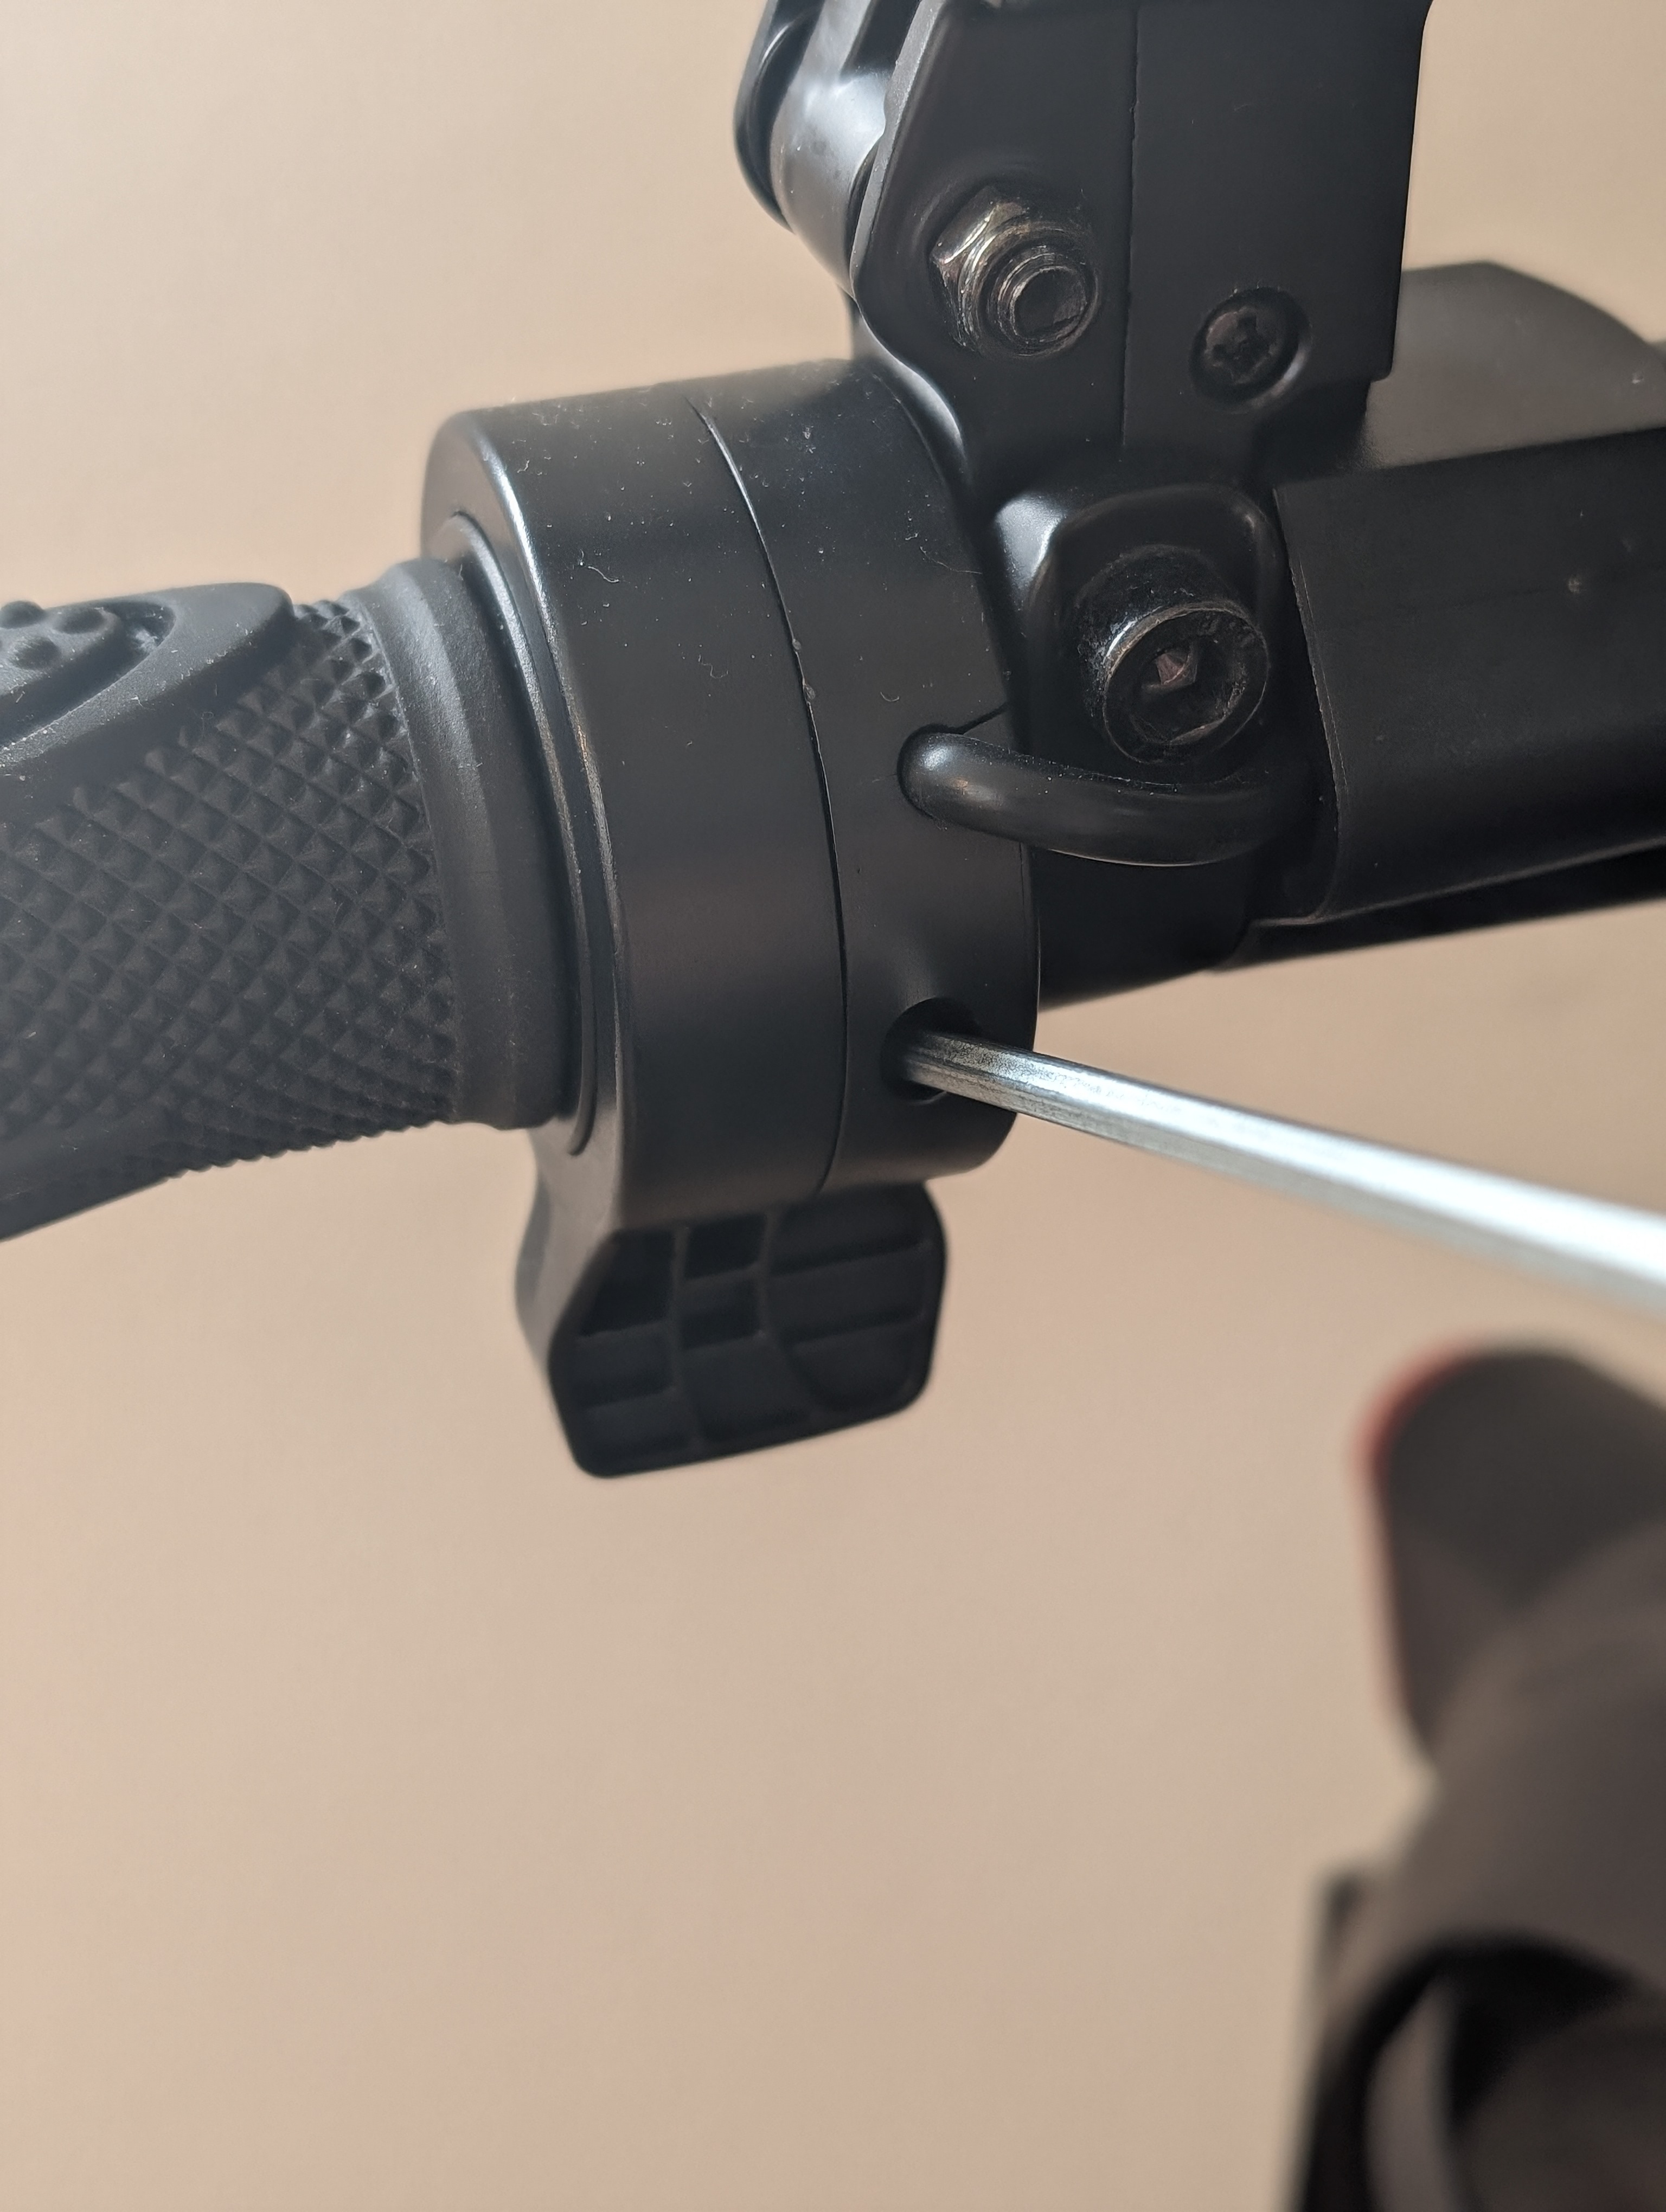
If necessary, also loosen the thumb throttle so you can route the corresponding cable neatly out of the handlebar bridge.
Release the brake lever
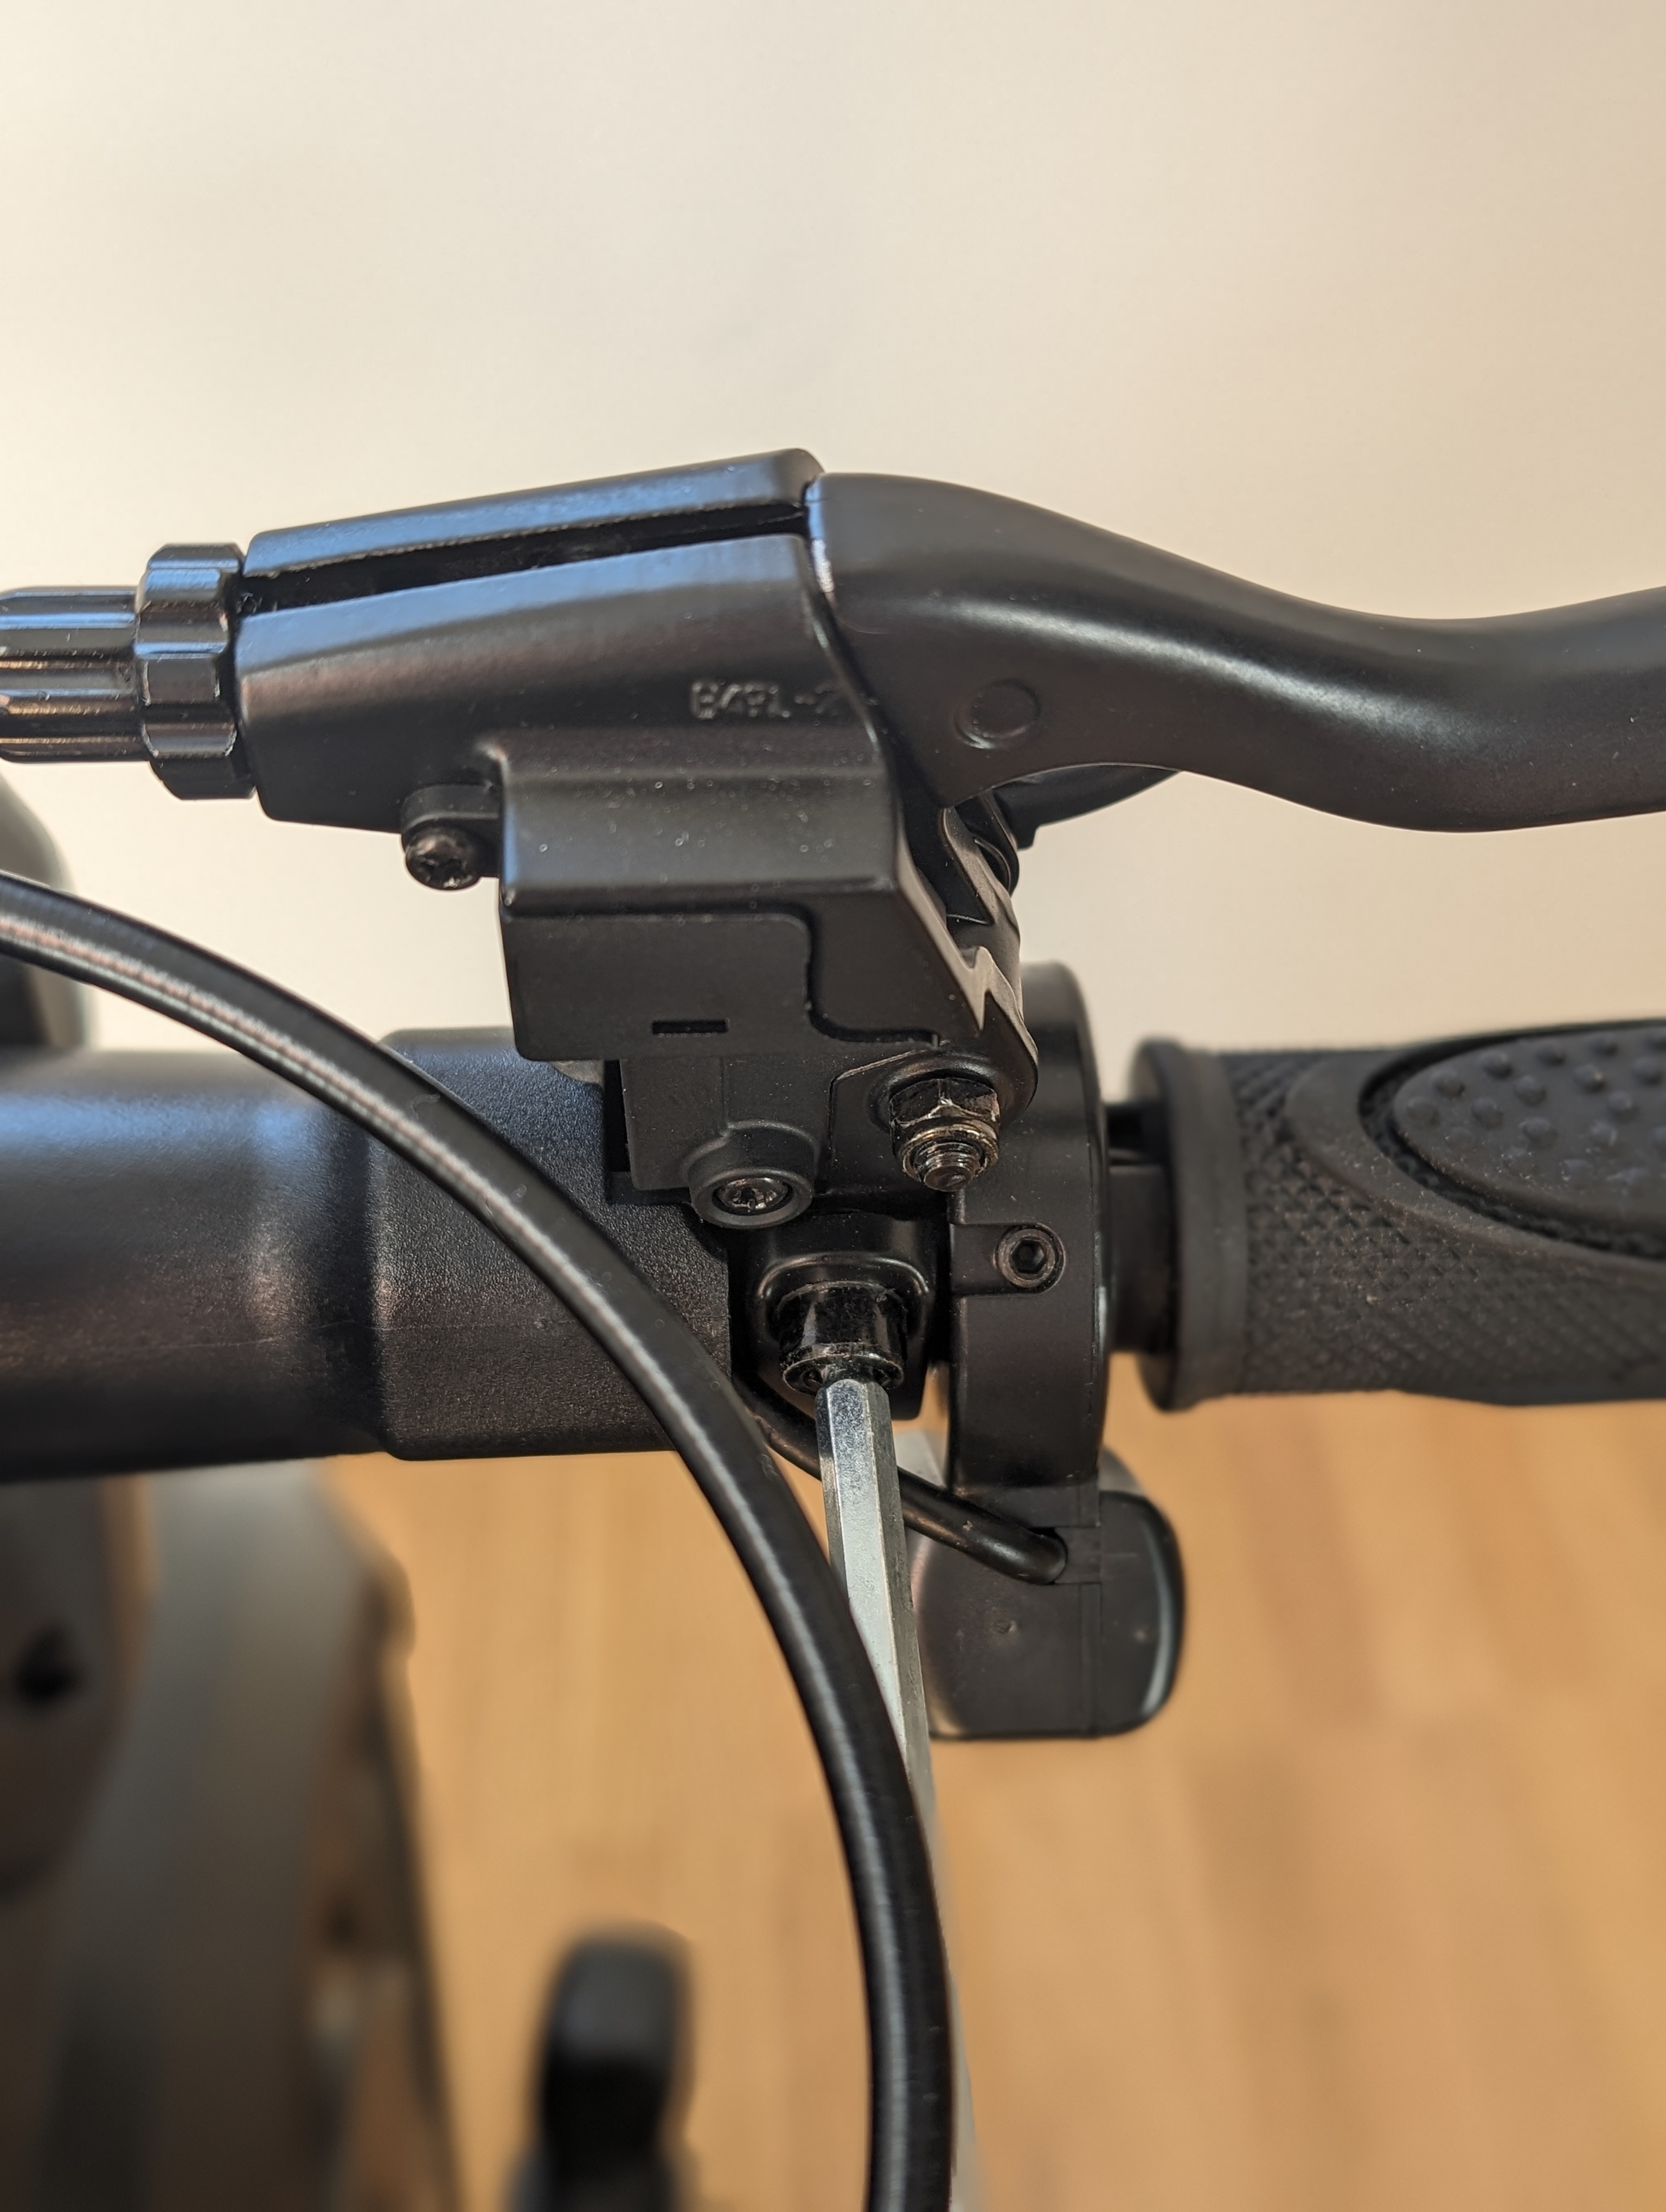
If the component you are replacing is located in this area, also release the brake lever on the affected side.
Release the turn signal switch
If necessary, disconnect the turn signal switch so you can remove all the necessary wires and components from the handlebar bridge.
Expose the connectors and replace the control element
Next, remove the heat-shrink tubing from the corresponding turn signal and the components you want to replace. Pull these components off the handlebar bridge.
Before attaching new components, prepare the heat-shrink tubing if necessary and slip it over the connectors.
Install new controls and insulate the wiring
Then reattach all the components to the handlebars and carefully insulate the connectors with electrical tape or heat-shrink tubing.
Reinstall the handlebars and headlight
Now reattach the handlebar under the steering head, and then install the headlight cover and the headlight itself.
Check the result
After assembly, check to make sure all controls are secure and functioning properly. Pay special attention to the turn signals, brake lever, thumb throttle, and, if applicable, the turn signal switch. The headlight and its cover should also be properly installed and securely fastened.
Frequently Asked Questions
Here you'll find answers to frequently asked questions about this repair.
Do I always have to loosen all the fasteners on one side?
You'll need to remove all the components on the affected side if their cables run through the inside of the handlebars and you don't have enough room to work otherwise.
What do I need heat-shrink tubing or electrical tape for?
This will allow you to properly insulate the connectors again after replacing them. This protects the connection and ensures neat wiring.
What should I do if a control doesn't work after assembly?
First, check all connectors and make sure the cables are securely connected and properly insulated. If the problem persists, the wiring should be inspected again by a technician.